
Try(1)
Some of the content on this page uses the name I previously went by when it was originally published. But now, I’d appreciate it if you could refer to me as Ezri Zhu.
A video recording of this talk is available here.
The full slides pdf is available here.
This talk was given at the third PaSh workshop, I would like to first thank Nikos Vasilakis for organizing this. This was also my first talk, so apologies for the cringy bits.
Try is a higher order command that lets you run a command or a script, including a shell, in a sandbox looks exactly like your live system, and inspect it’s effects before committing them to your live system. This is sort of like an undo command but for filesystem changes. This allows you to run complex, or perhaps risky third-party scripts and get a clear view into how they interact with the file system, and you get a choice whether to commit them or not, or even to extract the changes from the sandbox.
In this talk, we will take a deep dive into the motivation, internals, and the architecture of try.
We will also demonstrate try being used in real world shell scripts.
This is a collaboration effort in the PaSh team, so I’d like to thank Michael Greenberg, Konstantinos Kallas, Georgios Liargkovas and the rest of the PaSh team on making this happen.
We will first start by going over why we made try and how it integrates with our research. We will then go over overlayfs, one of the main drivers of try. After that, we will examine how we’re using linux namespaces via unshare to support mounting in the userspace. Lastly, we will explore some of the essential code snippets of try that makes it work.
First, let’s go over why we built try in the first place. Our research hs is mainly about parallelizing the shell via speculative execution. To do that, we will need to run each of like of a script in it’s own sandbox (we will go over why later.) We will also utilize overlayfs to improve performance for when we have to merge the different outputs of a command. And in order to utilize overlayfs in the userspace, we will be taking advantage of Linux namespaces via the unshare command.
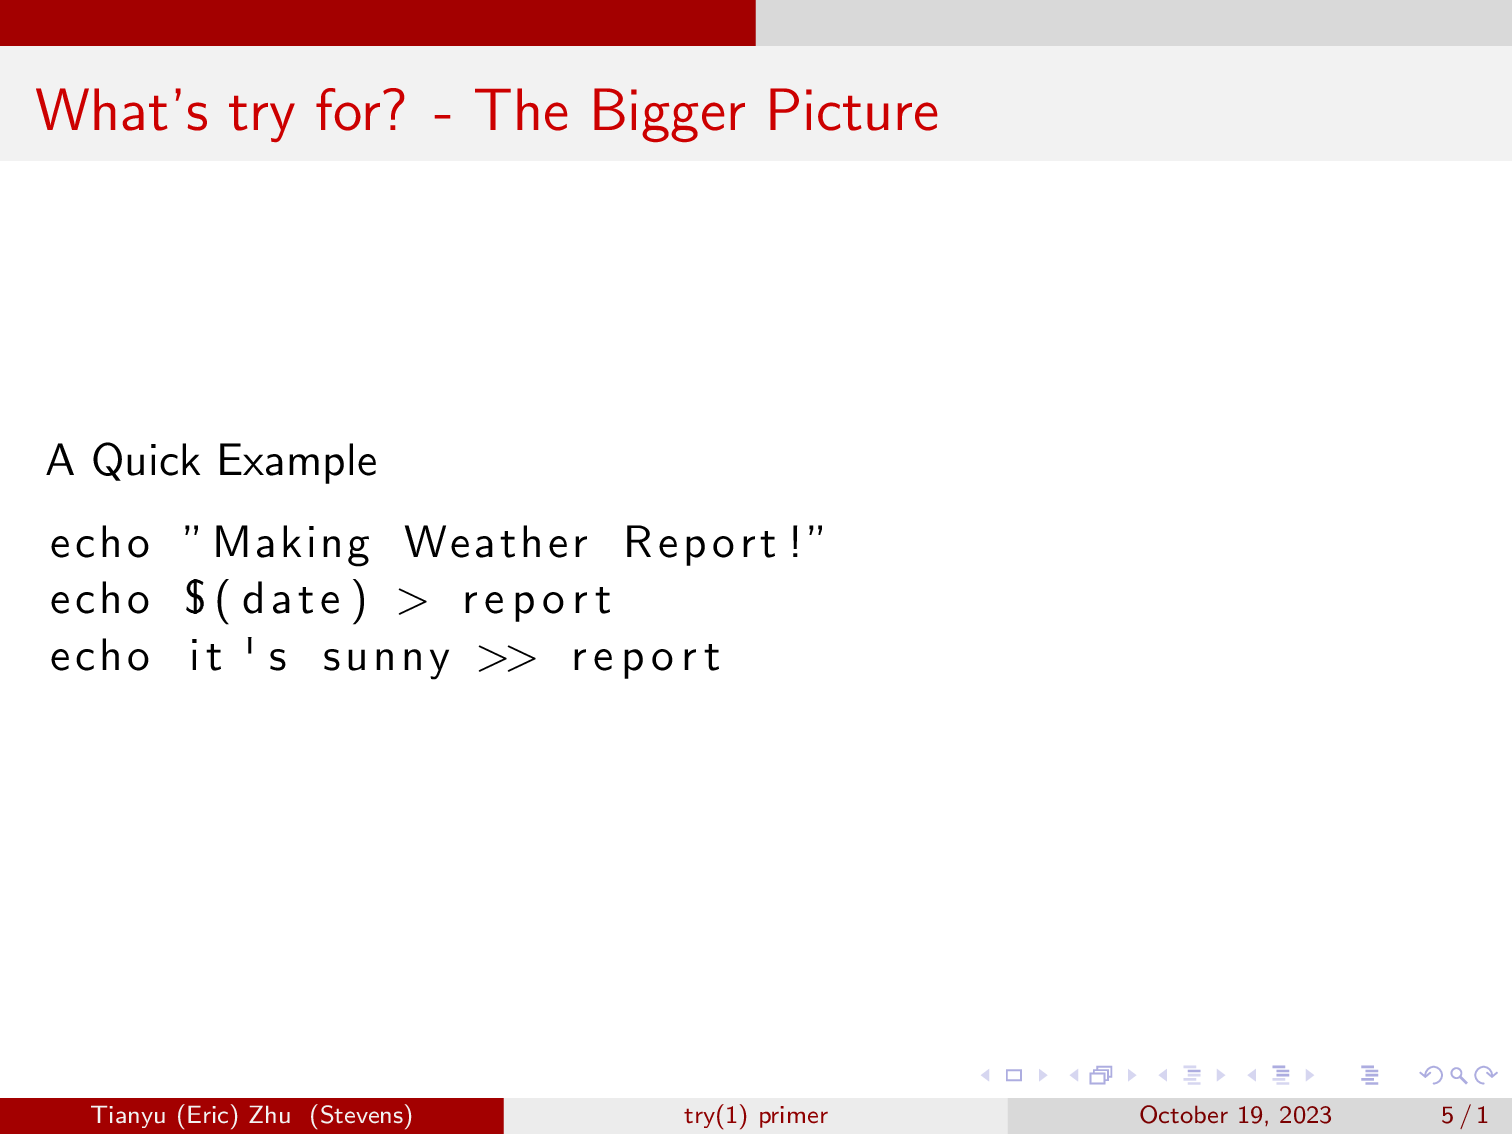
Here is a quick example of a shell script that we will execute via our out of order execution engine ‘hs’. You can read more about hs on the HotOS 2023 paper. This script first echos “Making weather Report!”, then it will pipe the current date to the report file. It will then also pipe “It’s sunny” to the report file.
In short, the out of order execution engine will first run the script all at once. However, we know that if we call all three commands at once, there is a chance that the message “It’s sunny”, gets written before the date, and that wouldn’t make much sense.
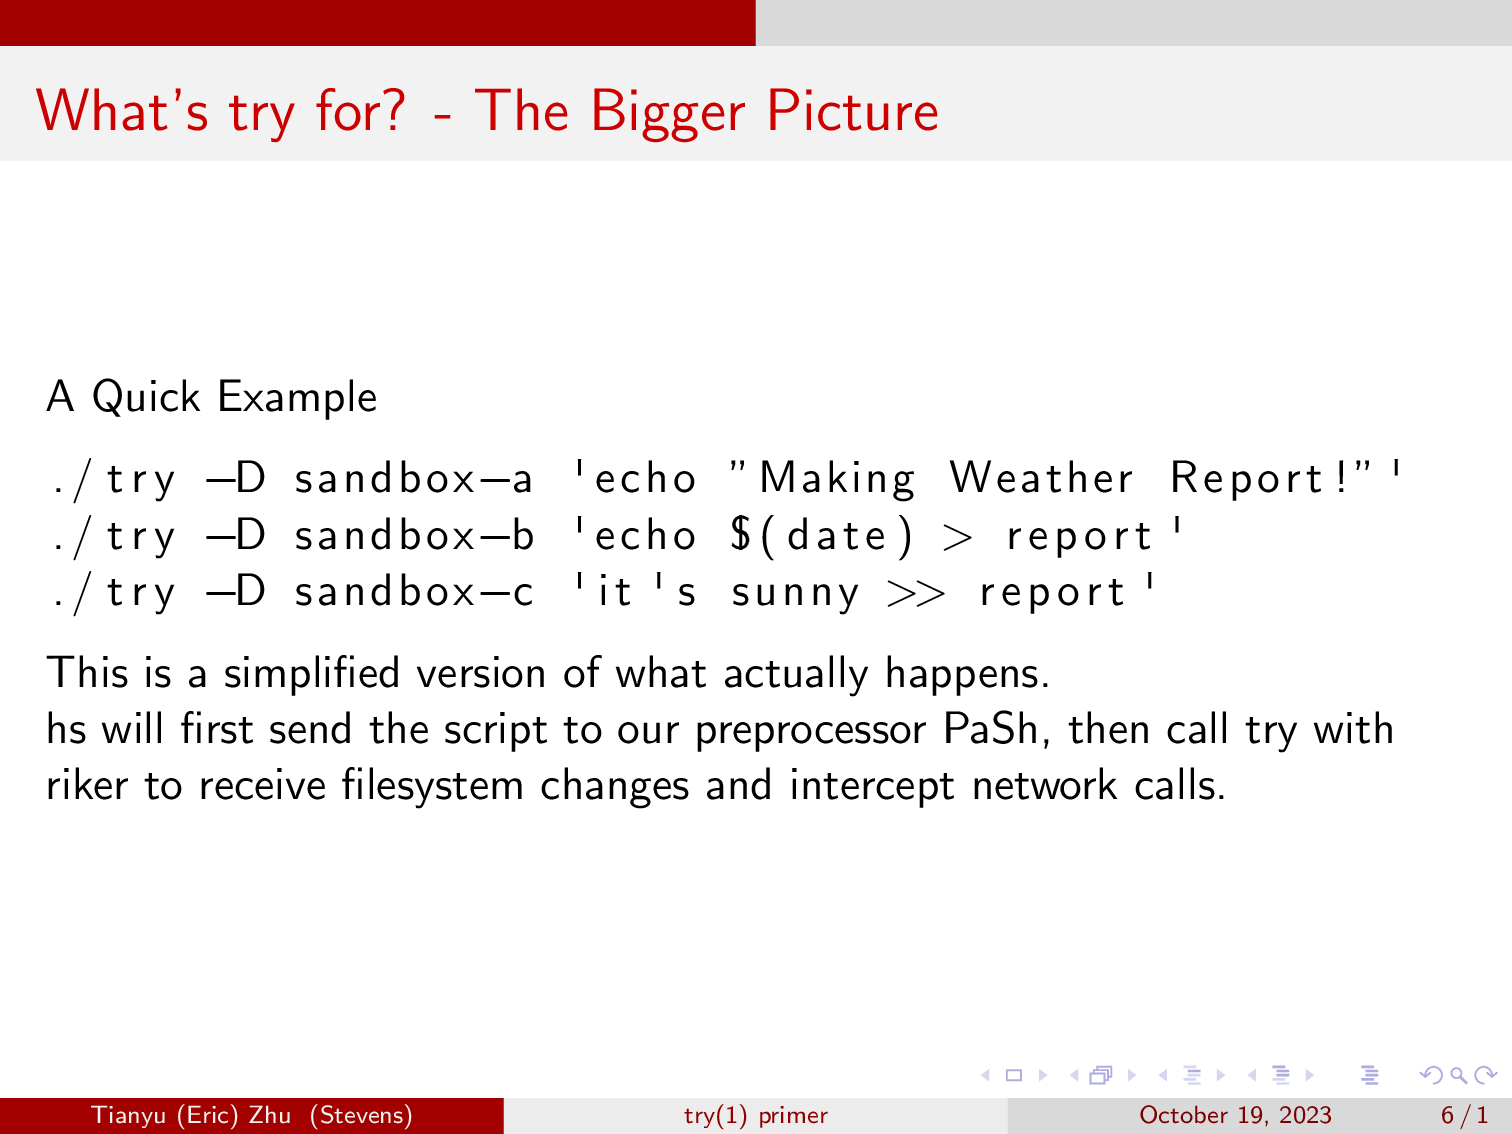
So, hs will first send the script to our preprocessor PaSh, which in this case will just extract the three lines from the script, in some more complex cases it will handle things like loops.
Then, our scheduler will call these three commands via Riker. Since we are not sure whether these command runs will be correct, we call that speculation. We use riker to monitor these command’s changes to the filesystem, and intercept network calls, since we don’t wish to make network calls in speculation.
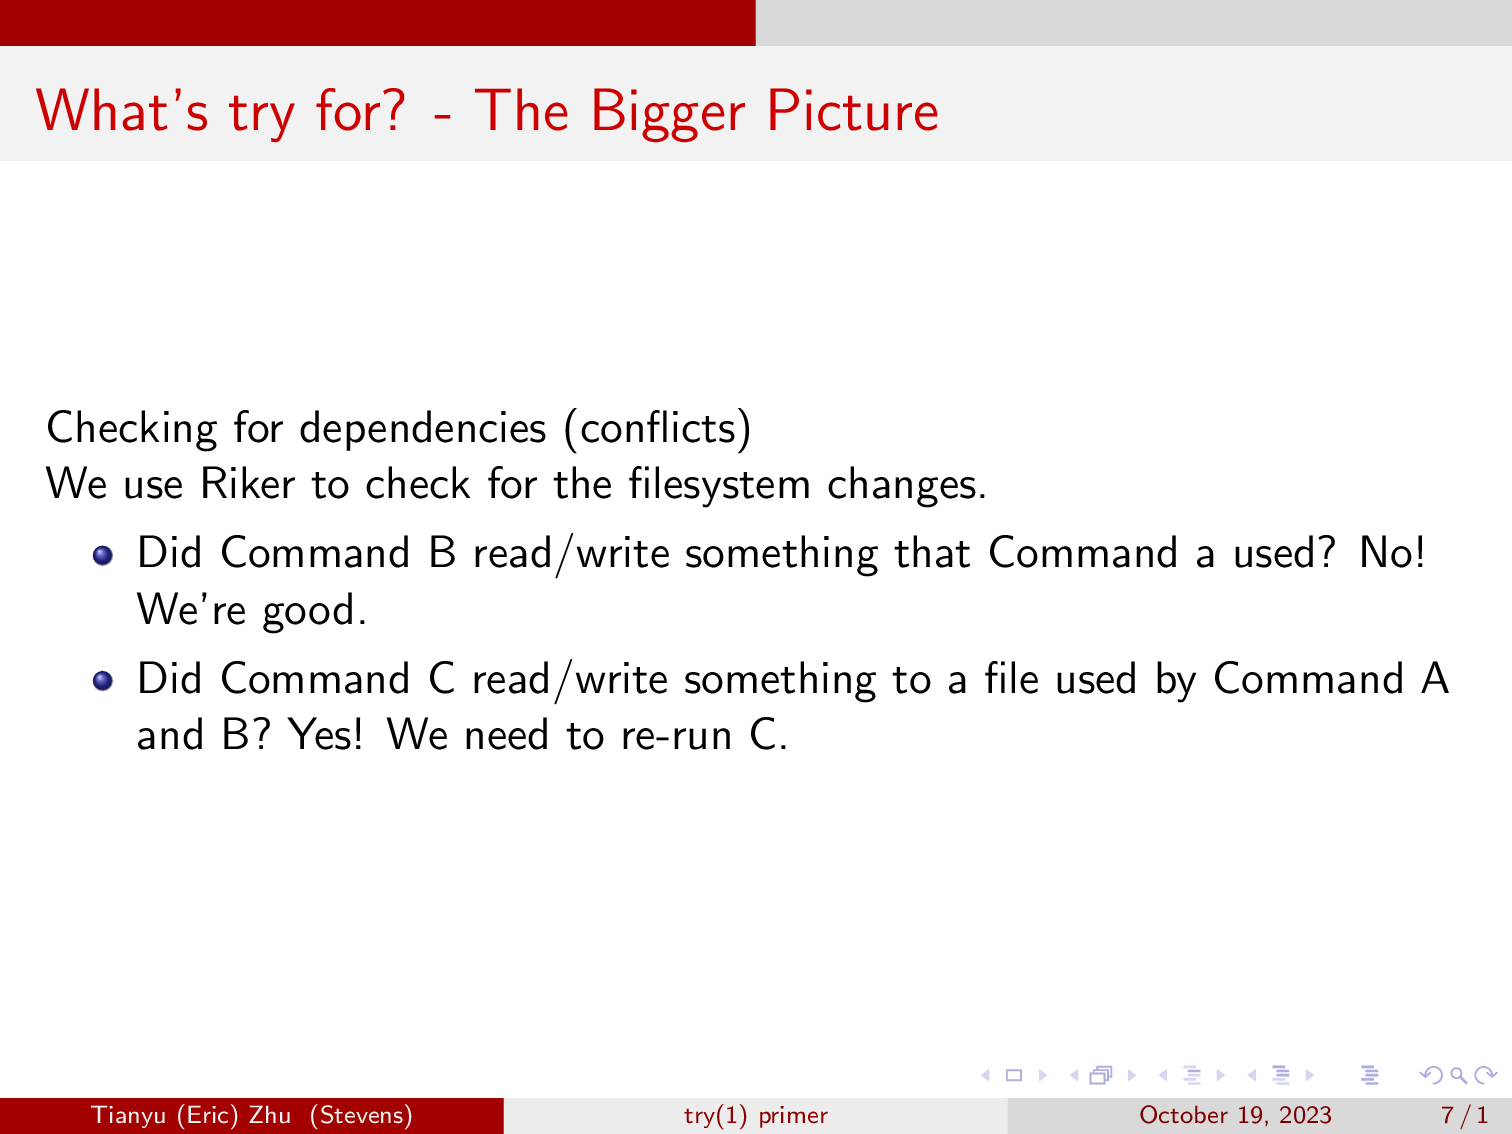
After these commands finish, the scheduler will find that command B does not read or write to anything that its previous command has written, so we know that the results of our speculative run of command B is correct.
Then it moves on to evaluating command C, and it finds that it wrote to the file that command B has also written to, realizing that the speculative run of command C is incorrect, because command C is a dependency of command B due to the editing of the file “report”.
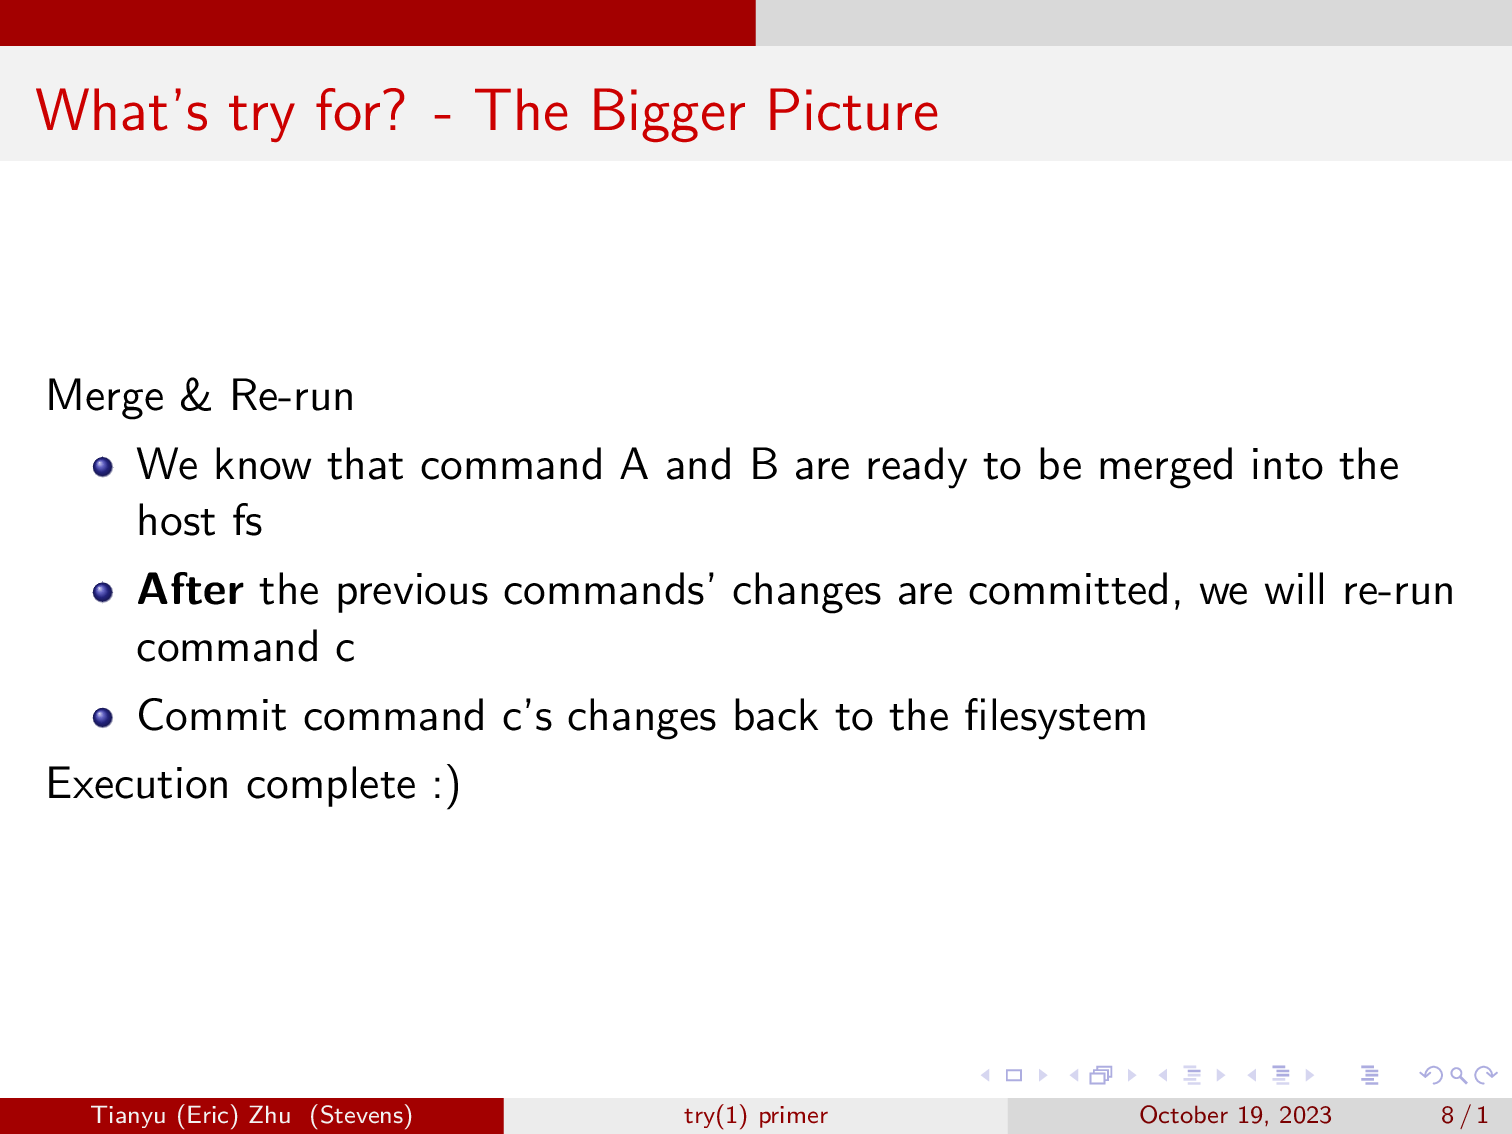
So, we have established that command A and B are ready to be merged into the filesystem. After that’s done, the scheduler will re-run command C and commit the changes to the filesystem.

As a result, we have created a tool that writes a program’s filesystem changes to a separate sandbox, allowing you to inspect its effects before committing it to your machine.
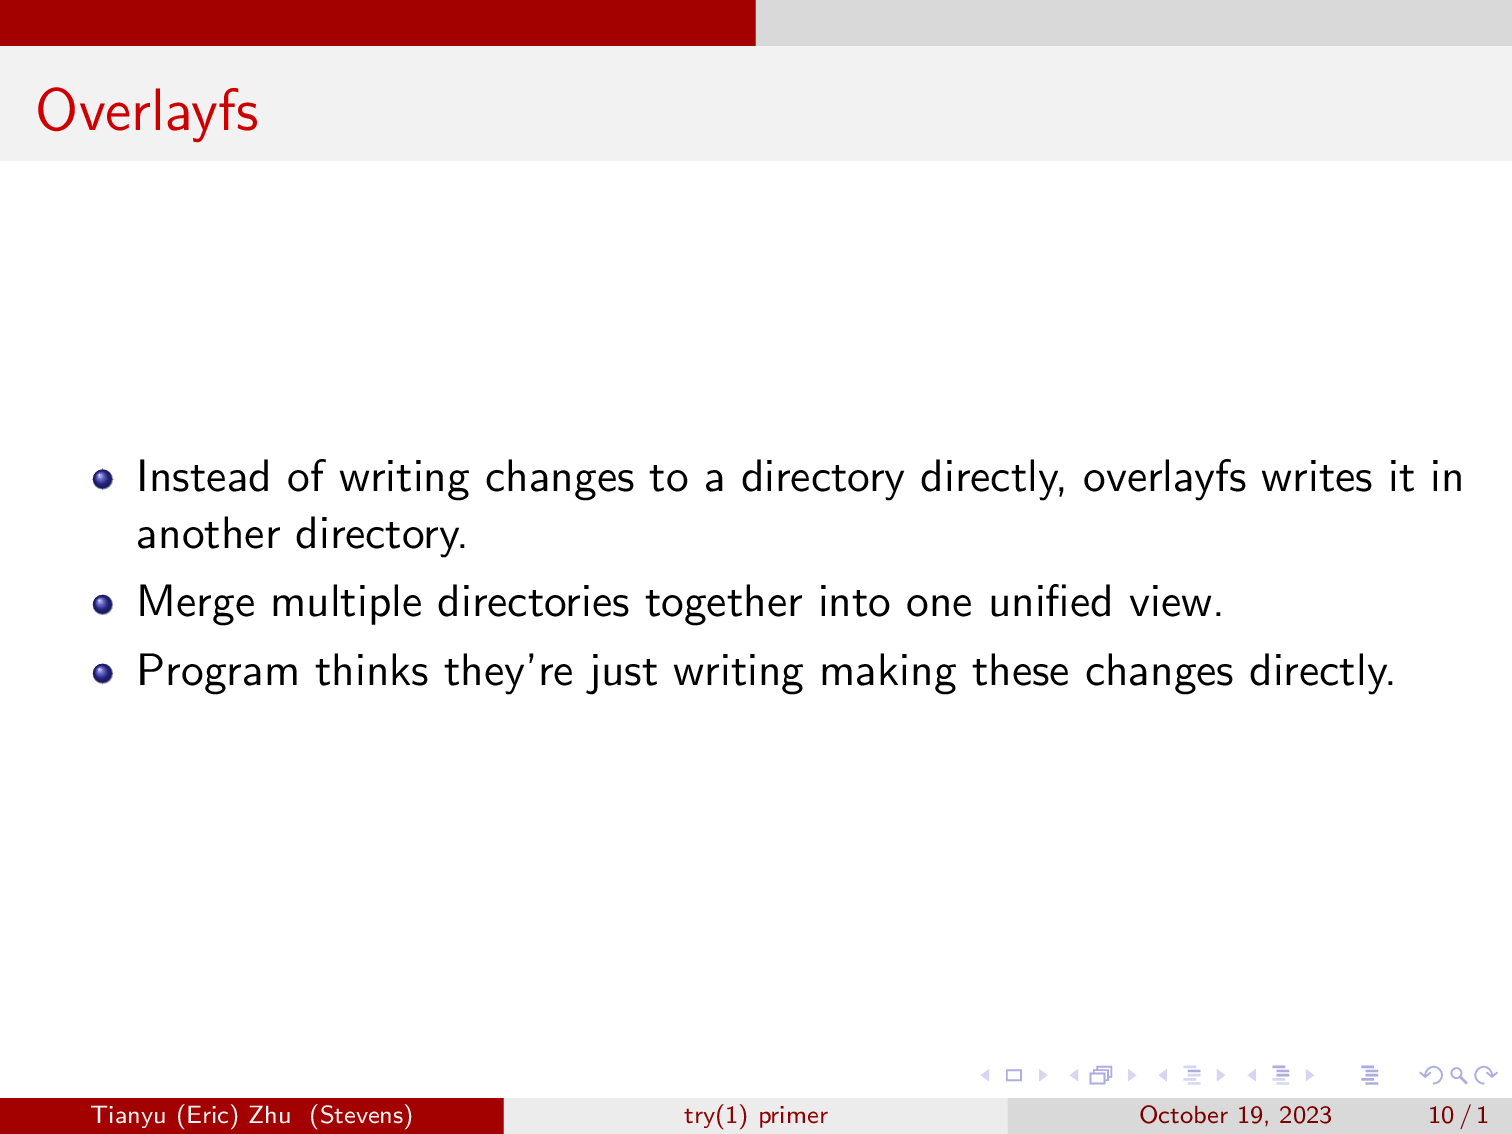
One major driver of try is the Linux overlayfs. Overlayfs allows us to mount a directory somewhere, and capture the changes to the mounted directory and put them somewhere else. However, to the underlying program making these changes, it will look like the changes were just written to the real filesystem.
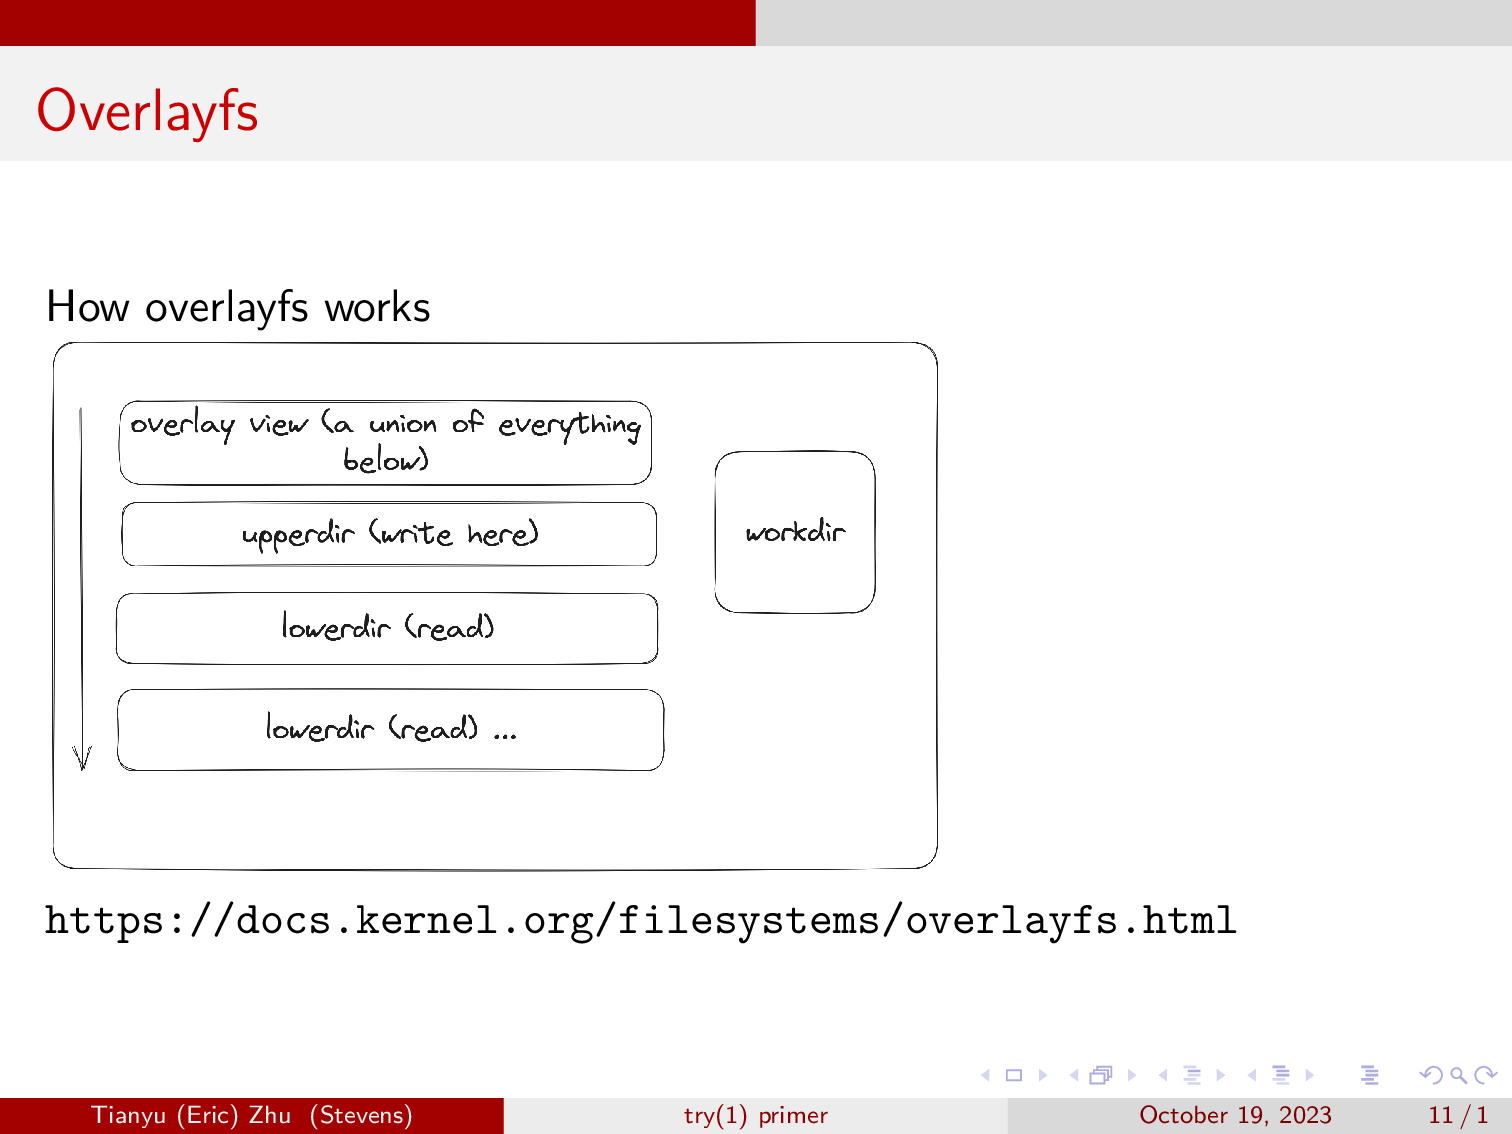
Overlayfs at minimum uses four directories, a lowerdir, an upperdir, a workdir, and a directory to mount the merged views to.
- The lowerdir contains everything that was already in the system, and overlayfs will not write to it.
- The merged directory, which we labled as overlay view on the diagram, is where we will be interacting with overlayfs.
- The Upperdir is where overlayfs will write cahnges to when they’re made in the merged directory.
- Workdir is where overlay stage changes to as it is copying files up from lowerdir to upperdir.
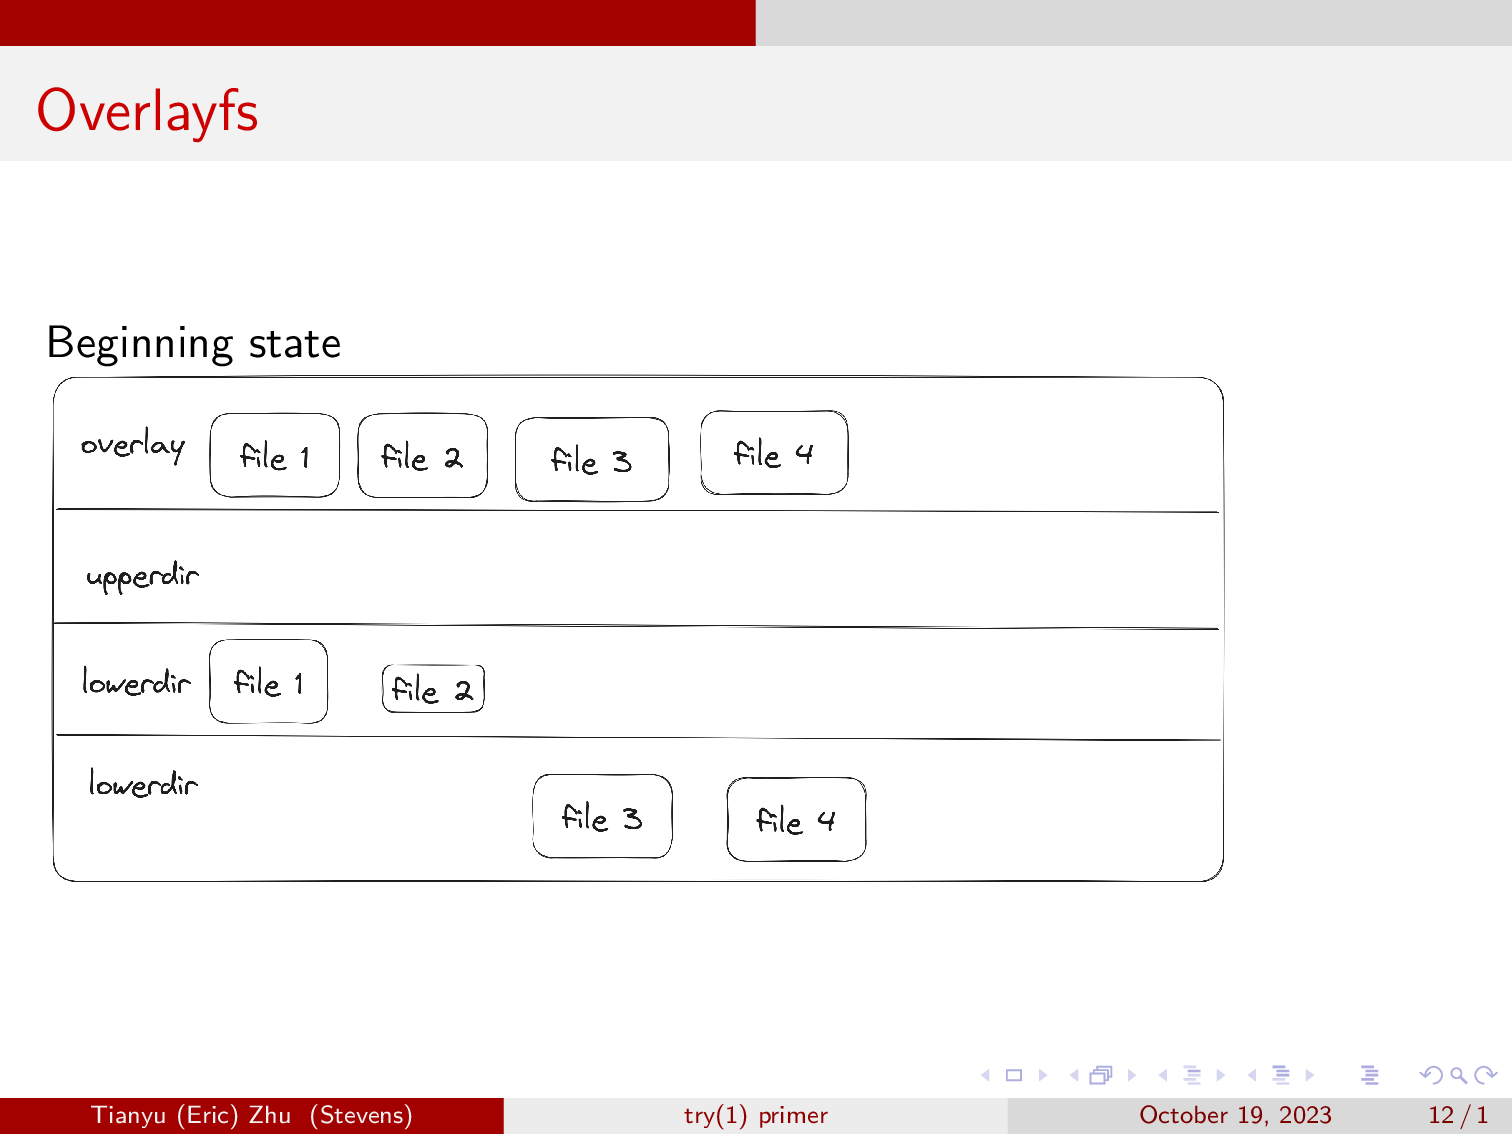
For example, here we have two directories, lowerdir 1, and lowerdir 2.
You don’t need to have two lower-directories, and when you first start overlayfs with two lowerdirs, it will just merge the two, with the precedence defined by the order in which you pass the lowerdirs to the mount command.
You will have to give overlayfs three empty directories, one for the upperdir, one for the workdir, and one to mount the overlay view to. After overlayfs is mounted to the overlay view, you are able to see the four files from the two lower directories in the overlay view.
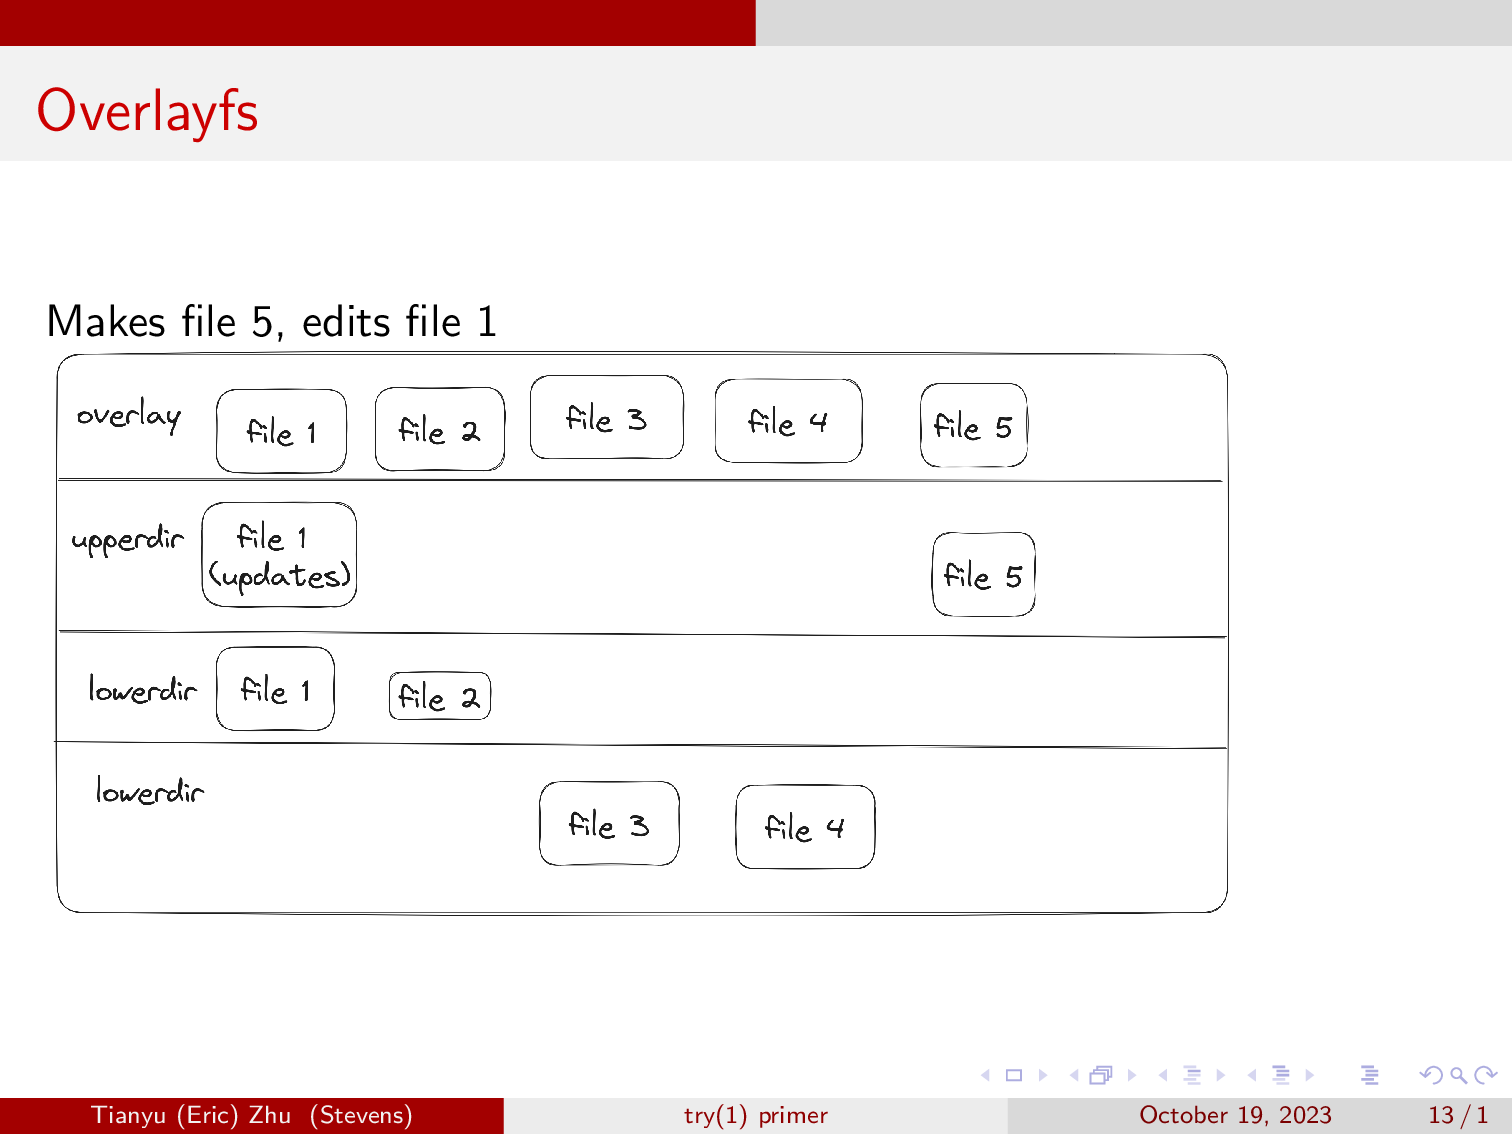
Here we’ll make a new file called file 5, and we will edit file 1. As you can see, overlayfs writes the updated file 1, and creates file 5 in the upperdir, leaving the lowerdirs alone. However, the changes are reflected in the overlay view.
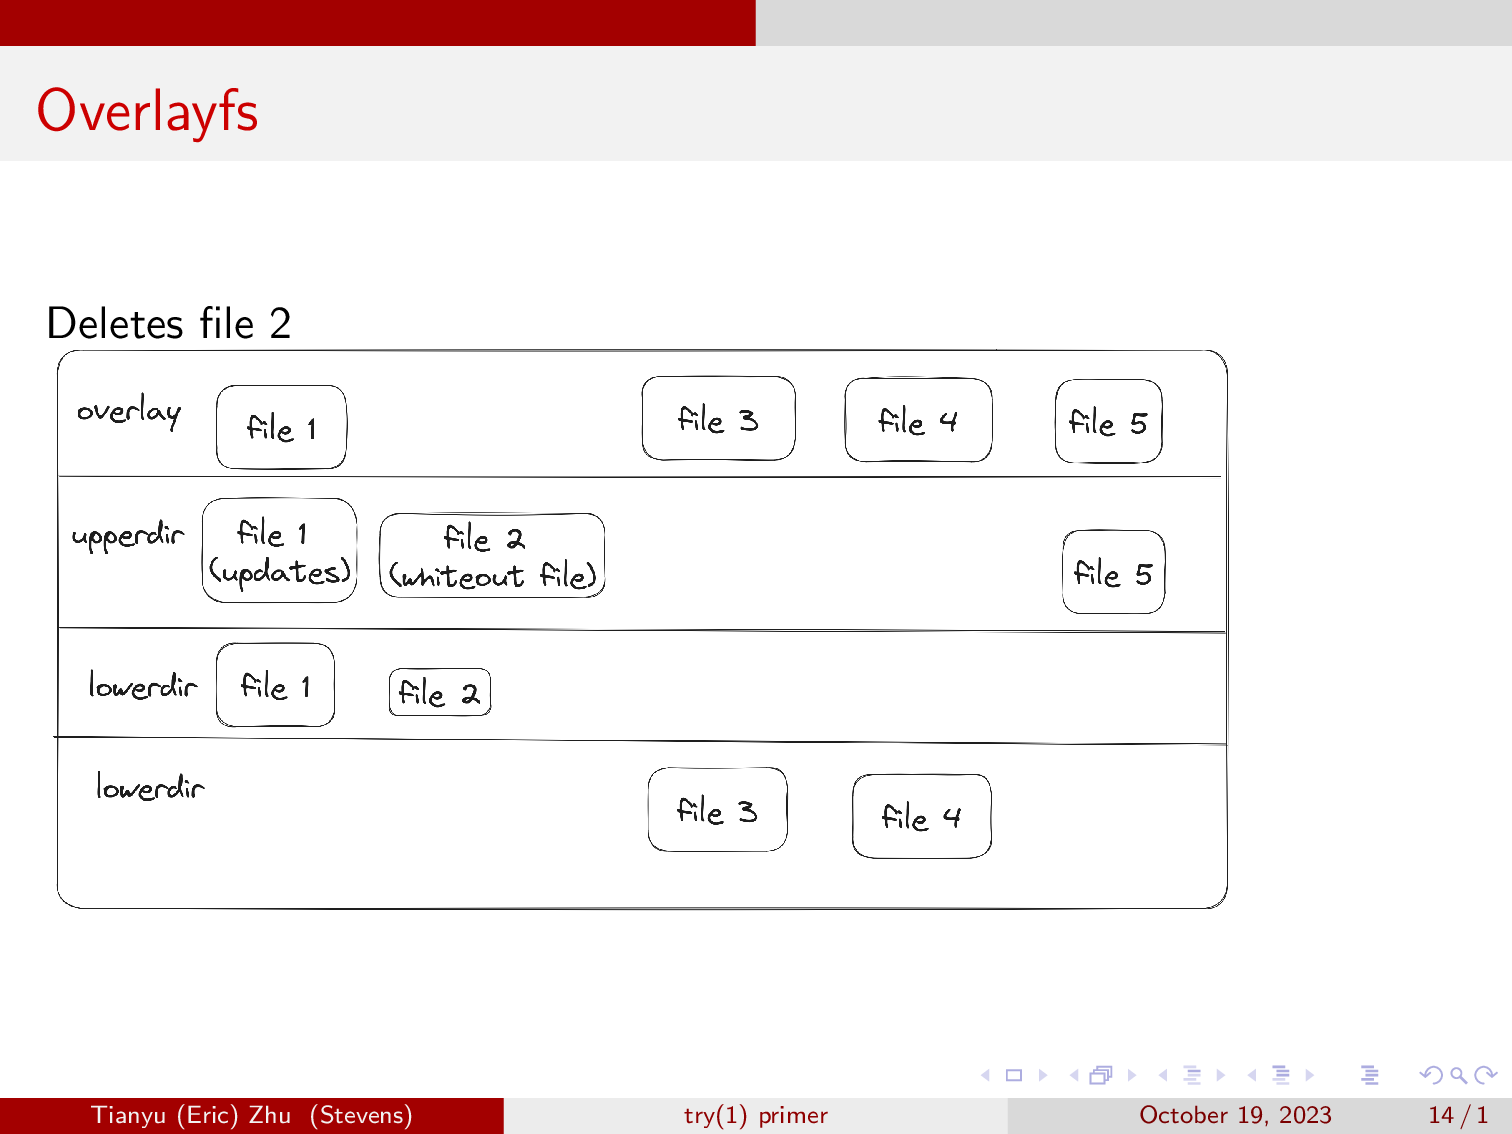
Now, we will delete file two. For file deletions, overlayfs will write a character device at the location of the file that it is removing, and the file will disappear from the overlay view.
This is basically how overlayfs works, we use it to stash changes to the filesystem elsewhere, and then commit them later on if we want to.
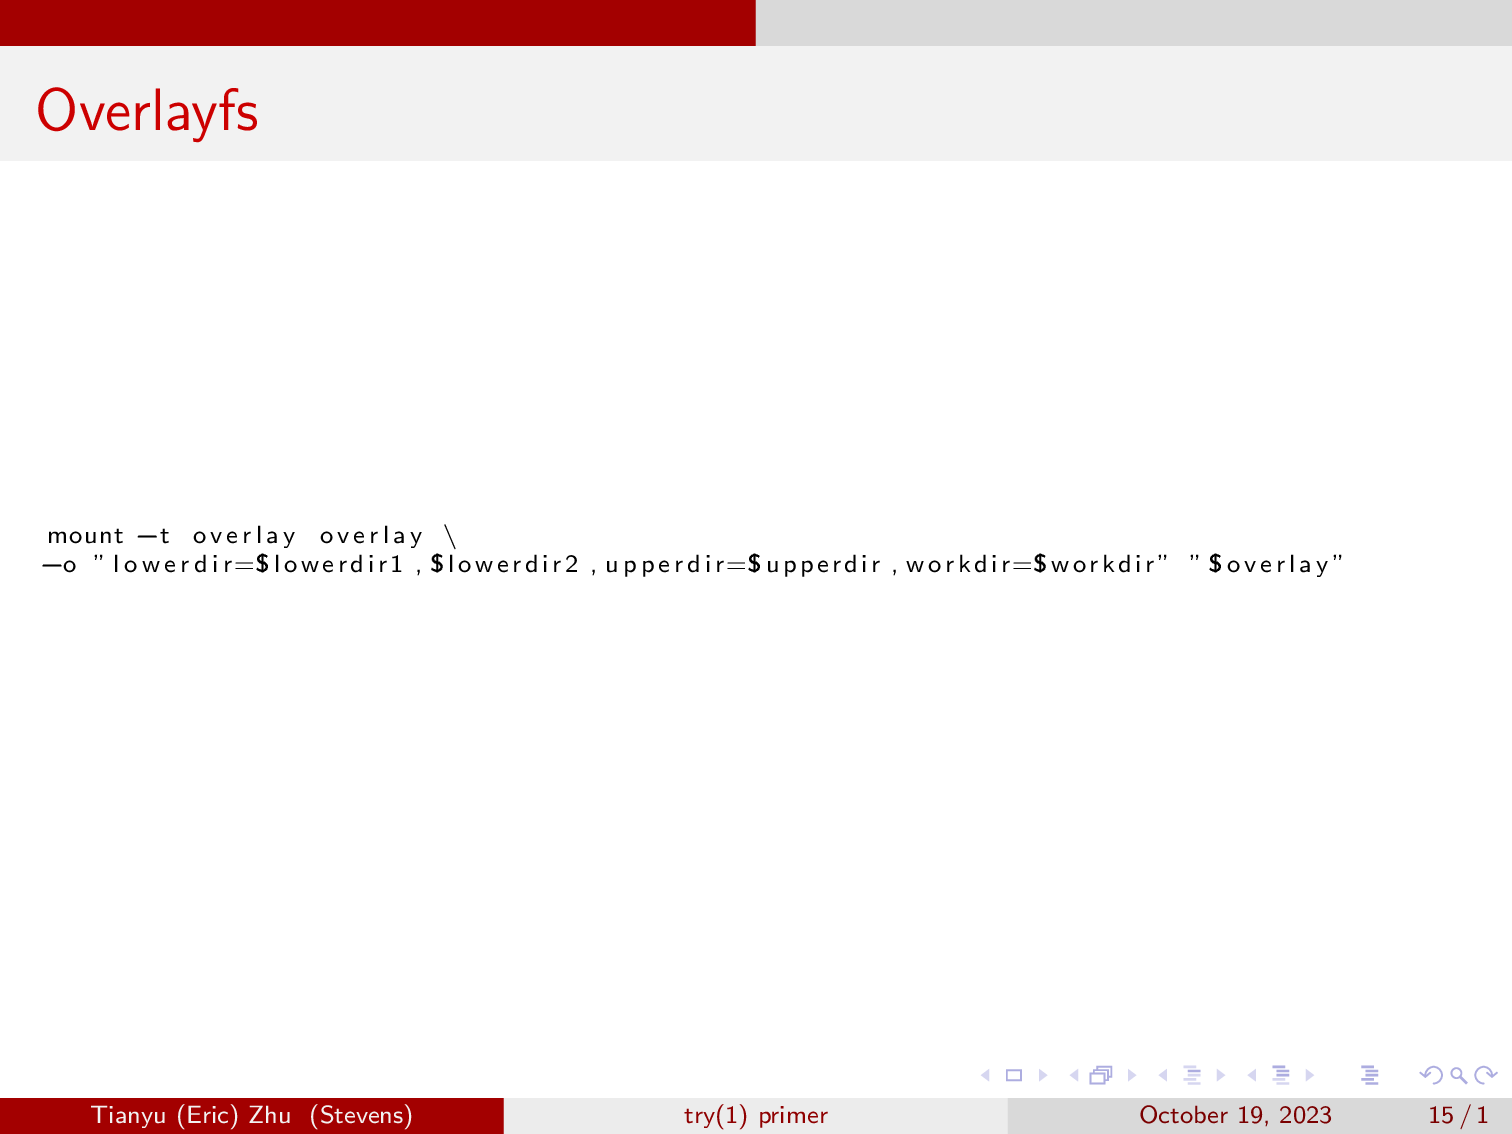
And this is how you start an overlay mount.
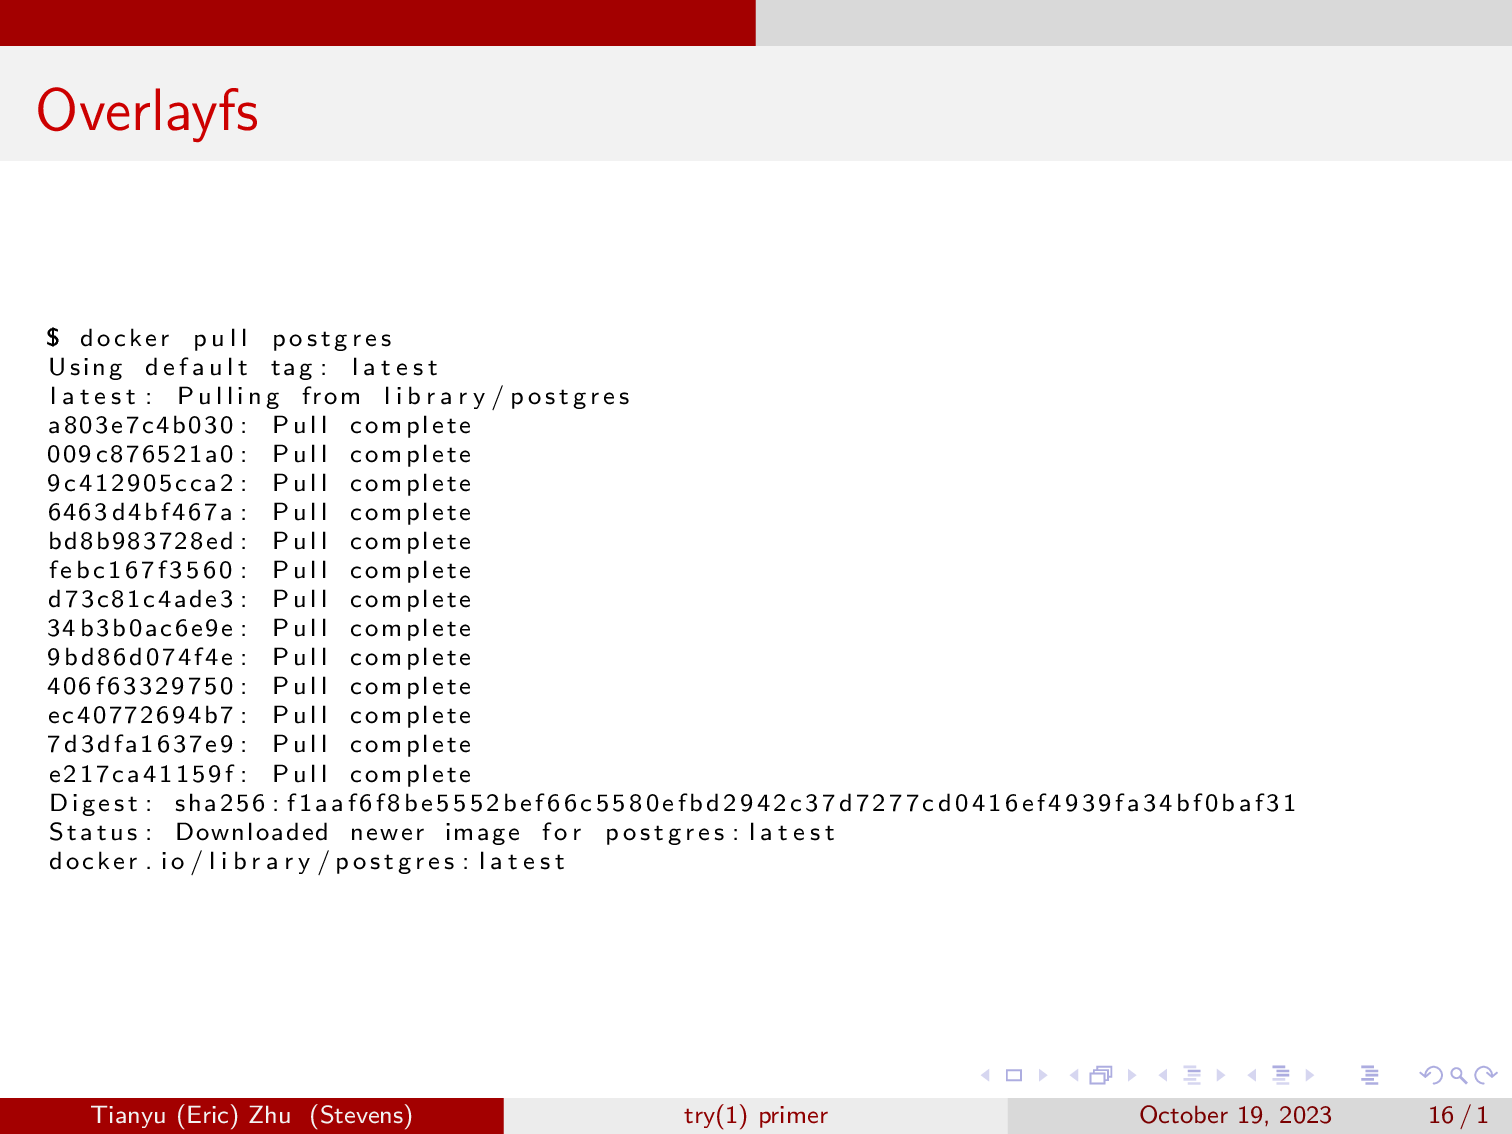
This is also how docker works, when you build a container, each line in the dockerfile is being written to it’s own upperdir, with everything preceding are just lowerdirs in a merged view. When you pull a docker image and run it, each layer is just a lowerdir, and your container is mounted on the overlay view.
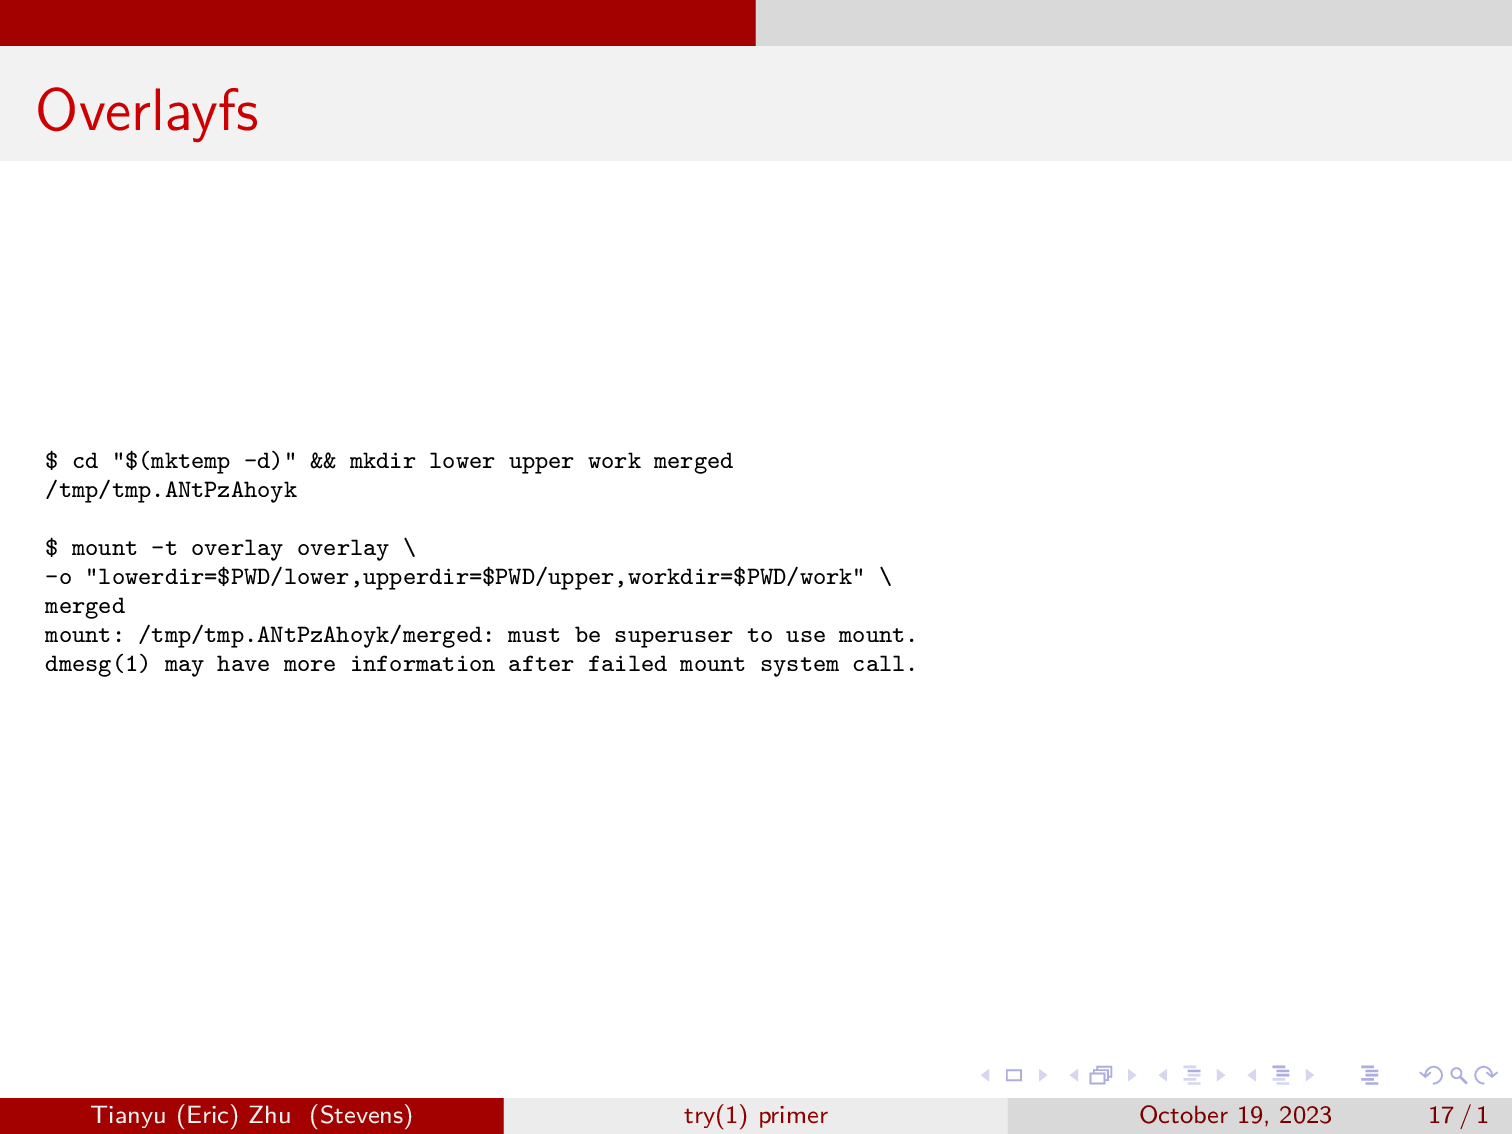
But if we try to mount an overlayfs in the userspace, we get a permission error. Since only root is allowed to mount, but we have a way to work around this via unshare.
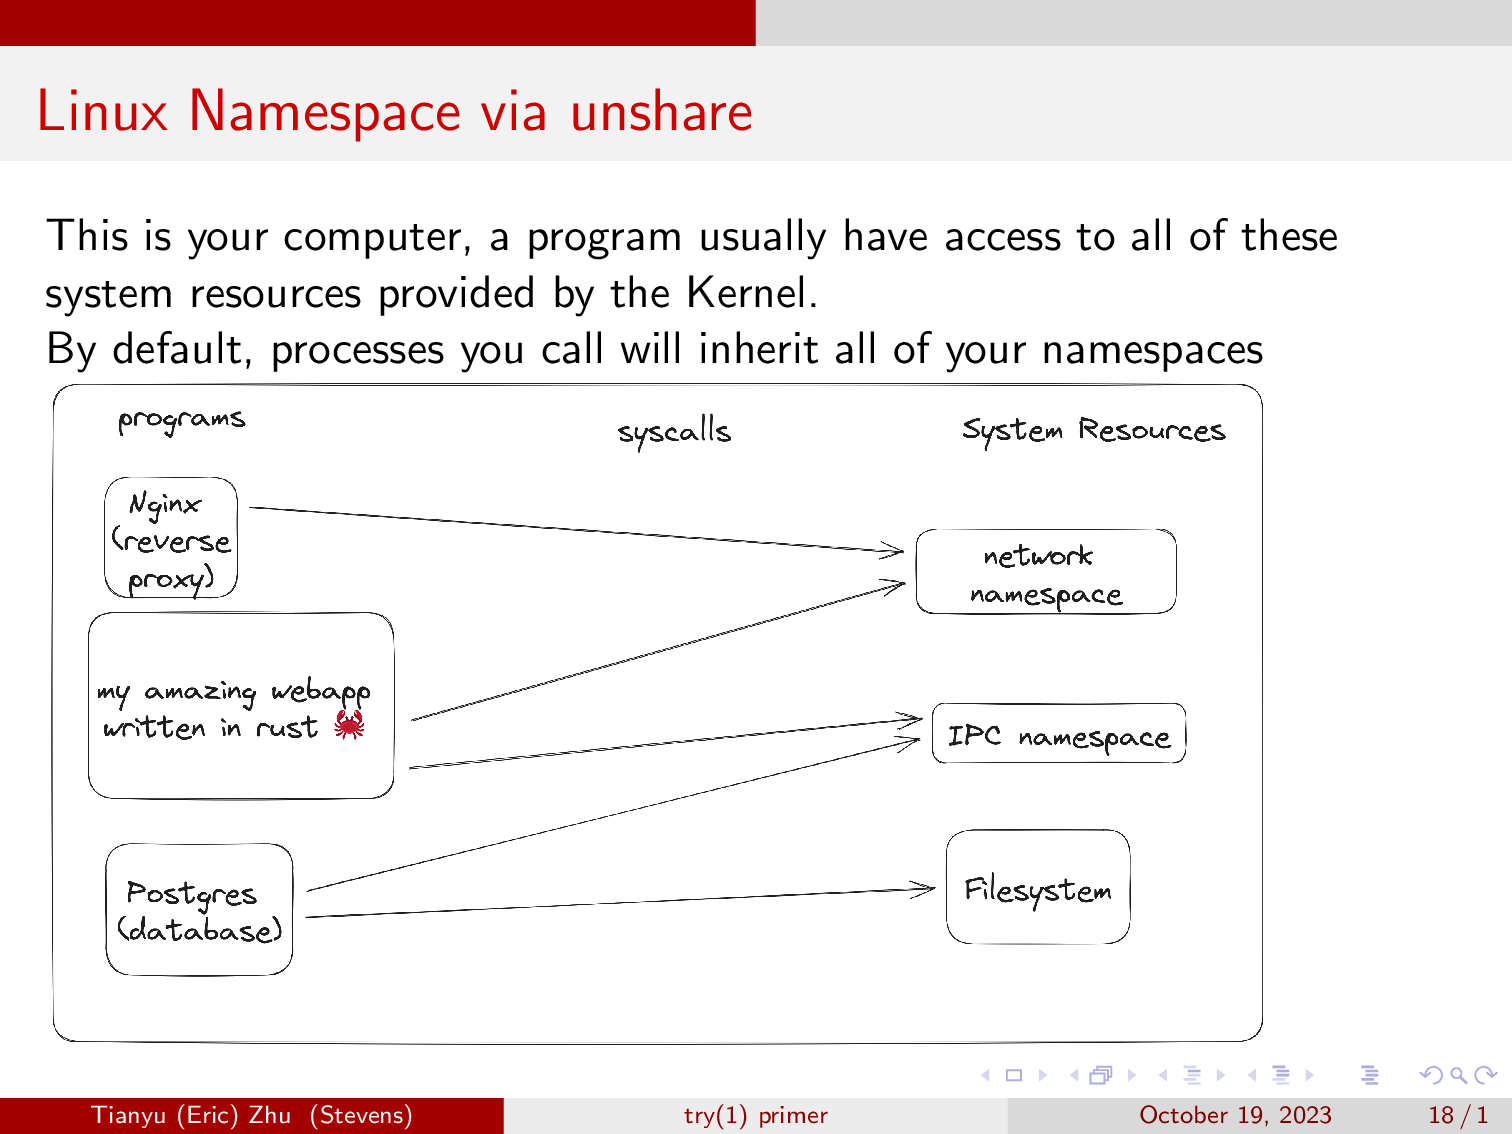
This is your computer, a program usually have access to all of these system resources provided by the Kernel. And you can access them via system calls.
By default, processes you call will inherit all of your namespaces, just like how when you prefix a command with sudo, it will inherit all of root’s permissions.
Here, you will notice three programs, a nginx reverse proxy, a postgres database, and my amazing webapp written in rust. As you can see, nginx is able to reverse proxy the webapp because they both share a network namespace. Then the webapp is able to communicate with the postgres database via a socket, as they both share the IPC namespace.
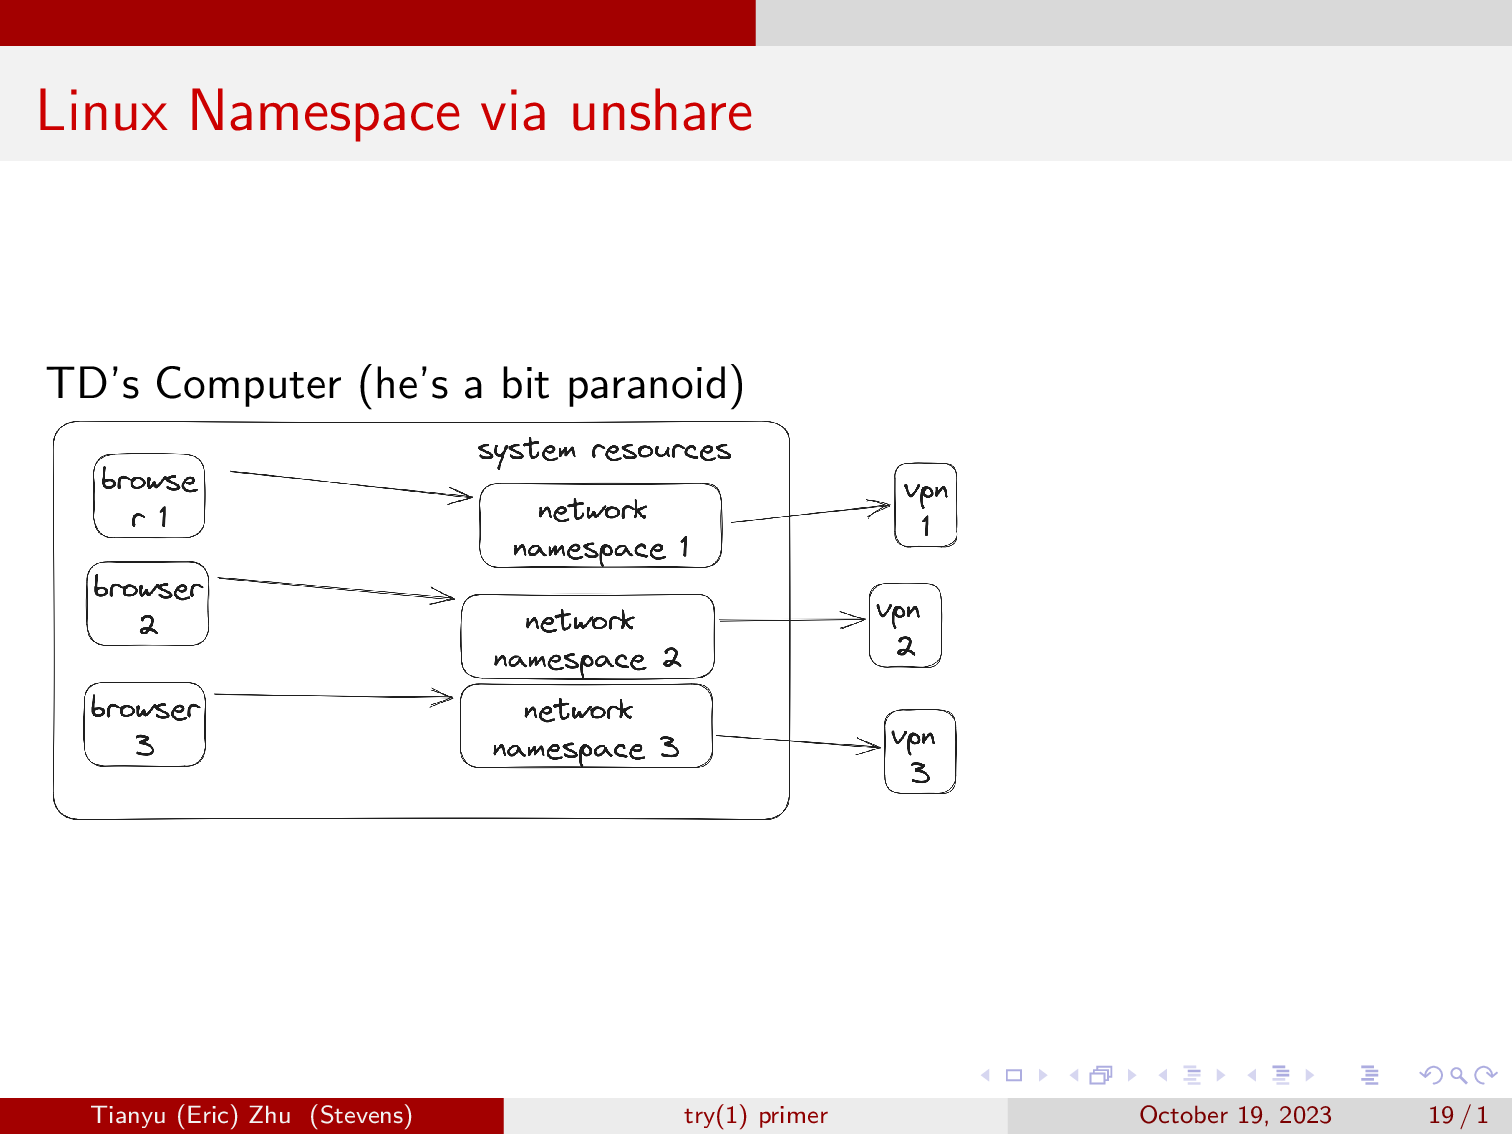
Here is an example of linux namespaces being used in the real world.
TD has a computer and he really doesn’t want to be tracked by ad companies and other organizations on the internet. So he has three VPN setup in three separate linux network namespaces. He then spawns a browser in each of the three namespaces, where he will work on different things. This allows him to have three different IP addresses on the browser.
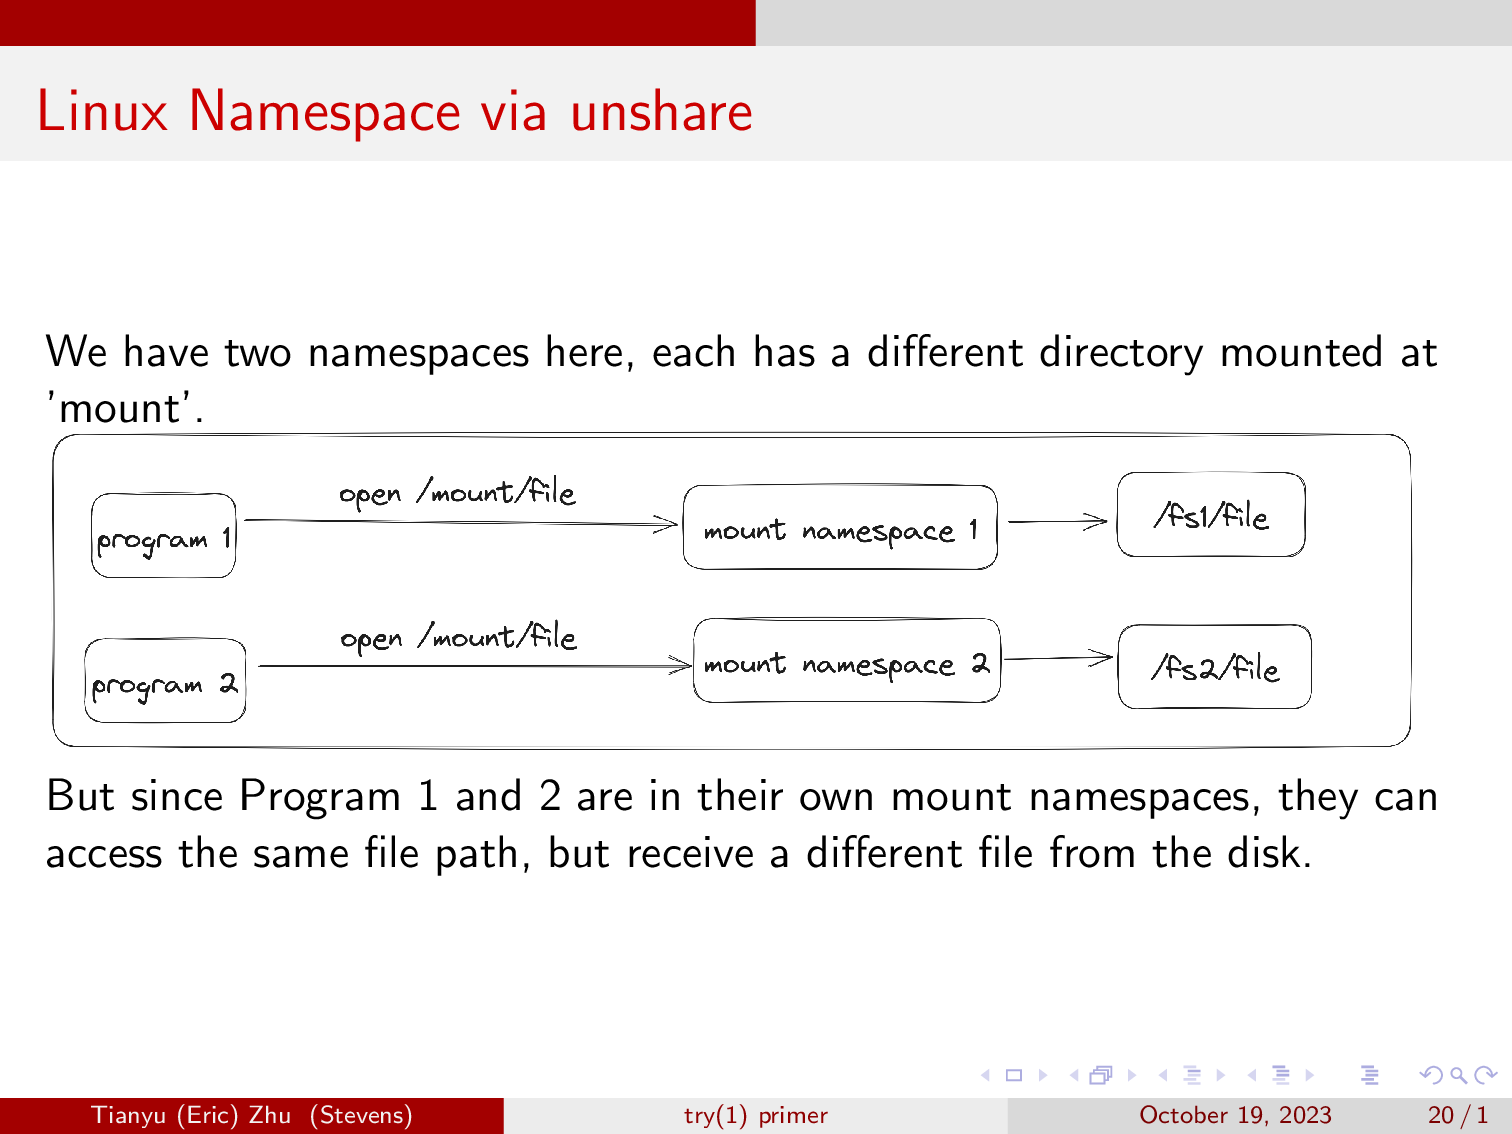
But in our case, we will focus mainly on mount namespaces. Here we have two mount namespaces, one has /fs1/ mounted at mount, and one has /fs2/ mounted at mount, and a different value in fs1/file, and fs2/file.
Then if we start a shell in the two amespaces and open mount/file, we will get different results.
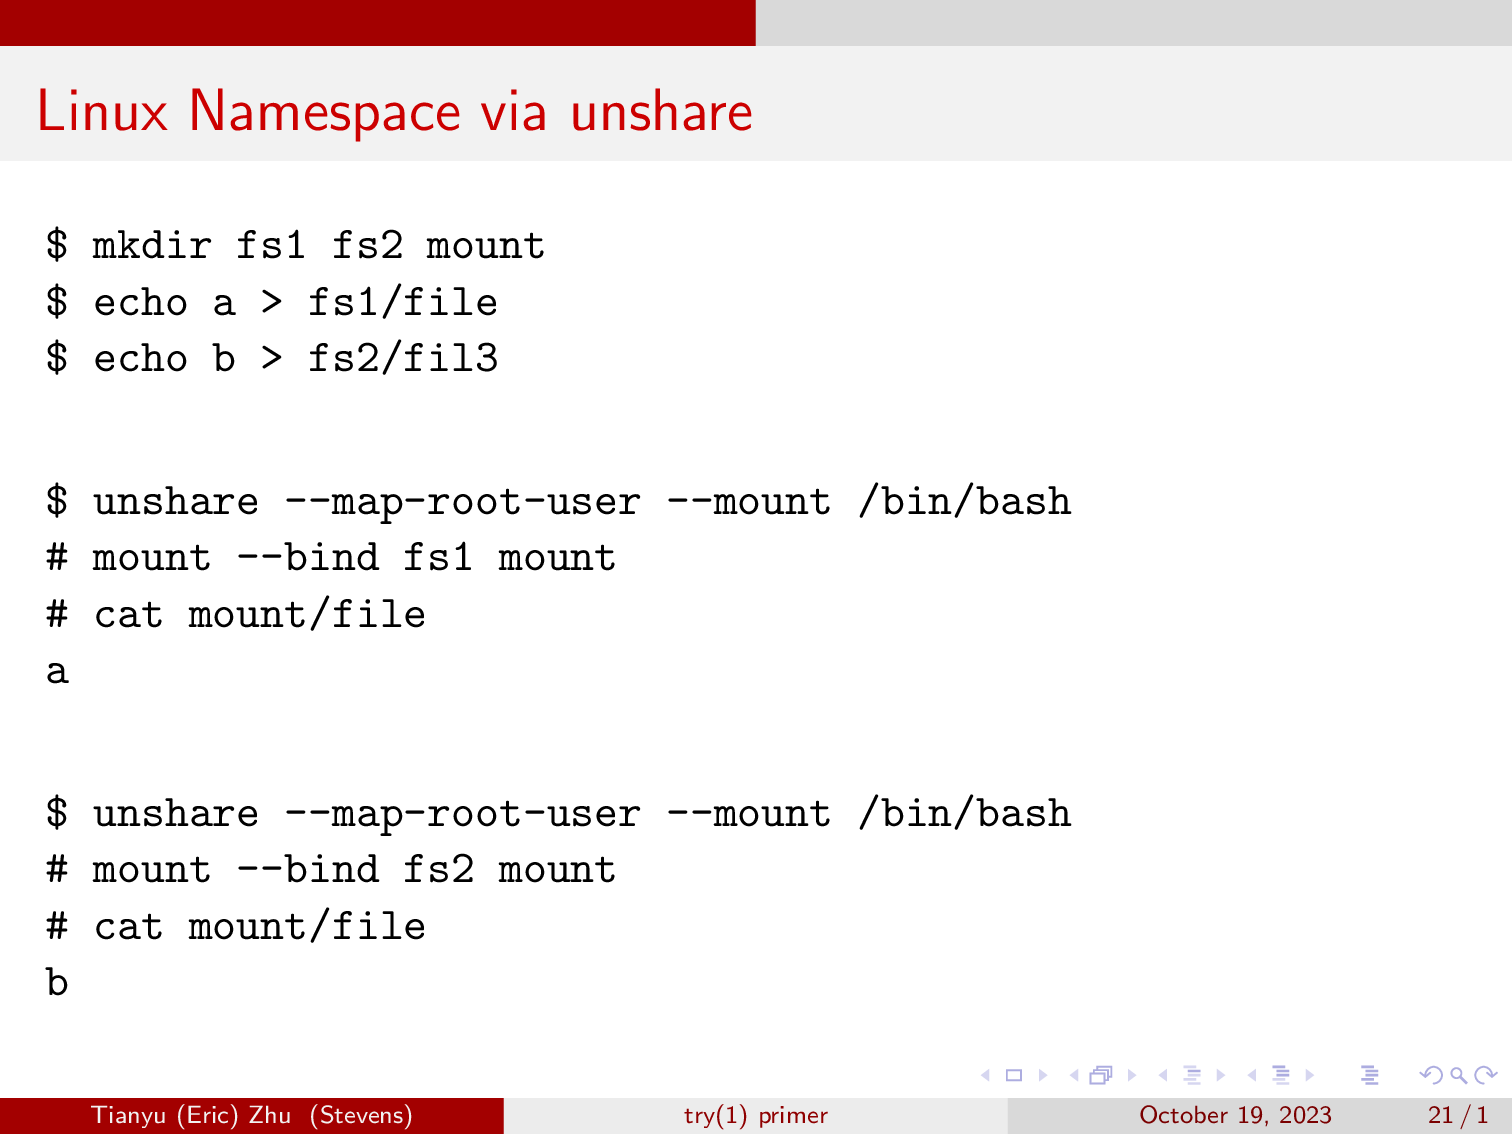
This demo reproduces what we just went over. Feel free to copy them to your computer and try it yourself. (Make sure the second unshare is not executed within the first unshare, and you want to type ‘exit’ to exit the unshare.)
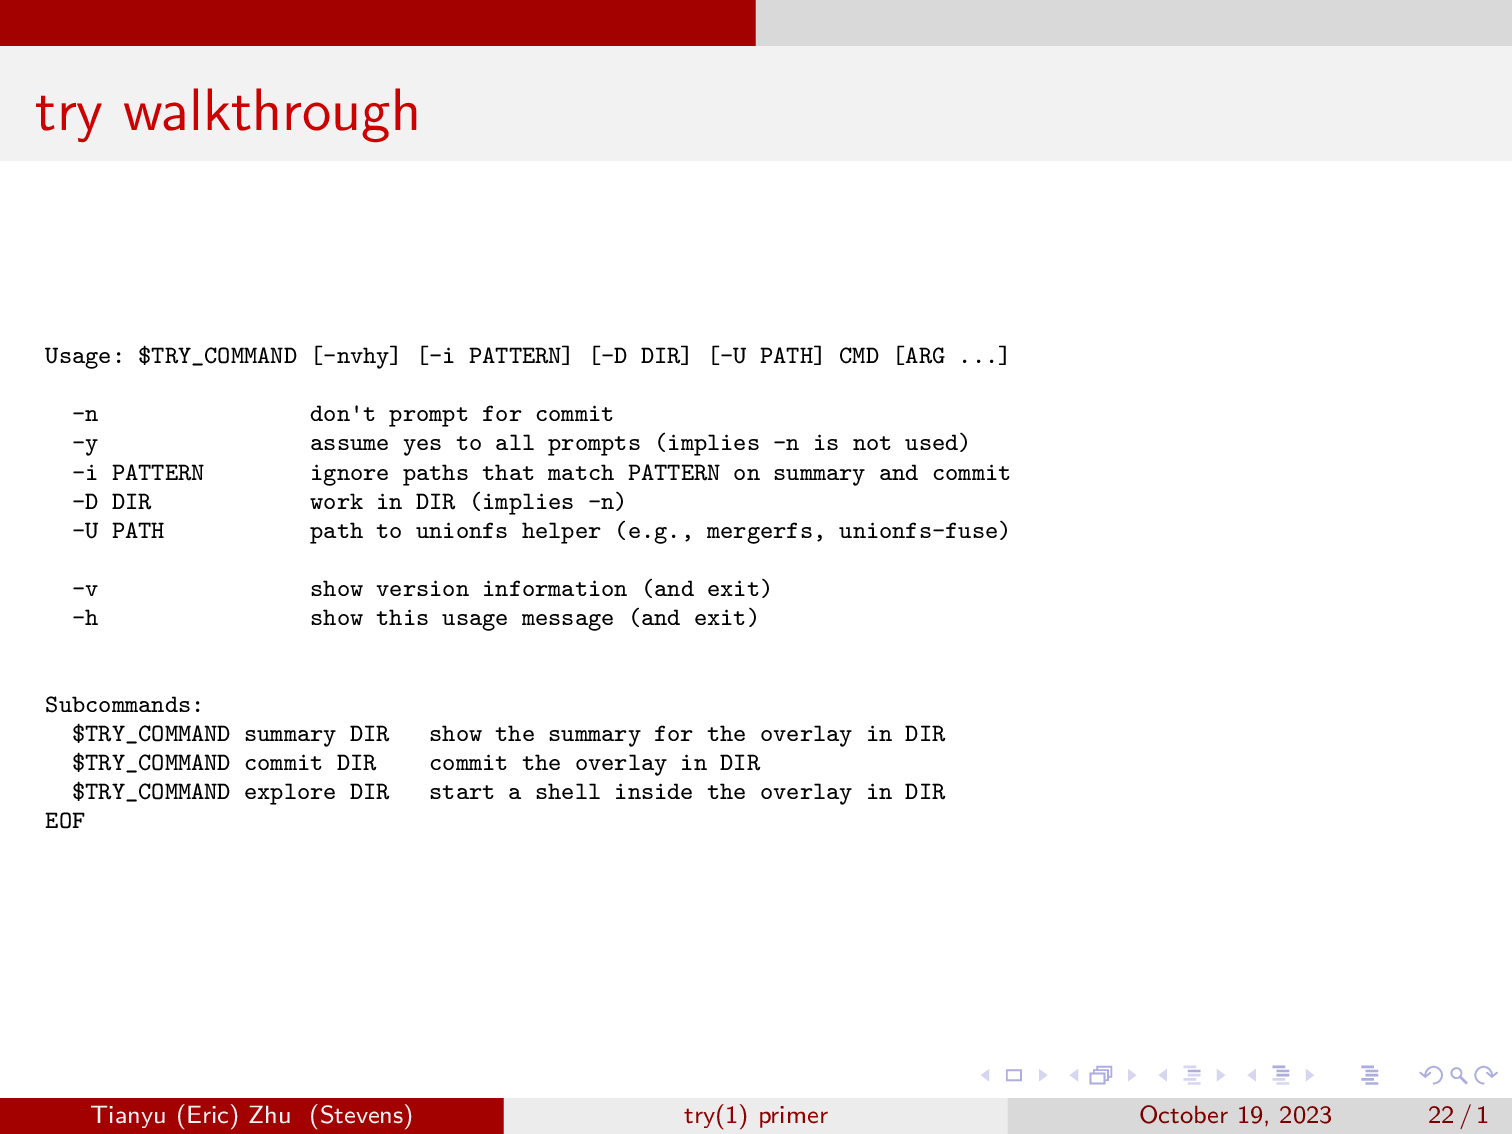
Alright, now let’s walk through some important snippets of our tool try. I have edited some commands to make them a bit more readable. If you don’t supply try with any arguments, it will show you the usage instructions.
Normally, you can just run try with a command or path to a script, then it will run the command in a sandbox, and show you the changes and prompts you whether to commit it or not.
You can also use -D to tell it to just run the command in a sandbox, and you can use the summary and commit subcommands later. There’s also the explore subcommand, this will pop you into a shell in a sandbox.
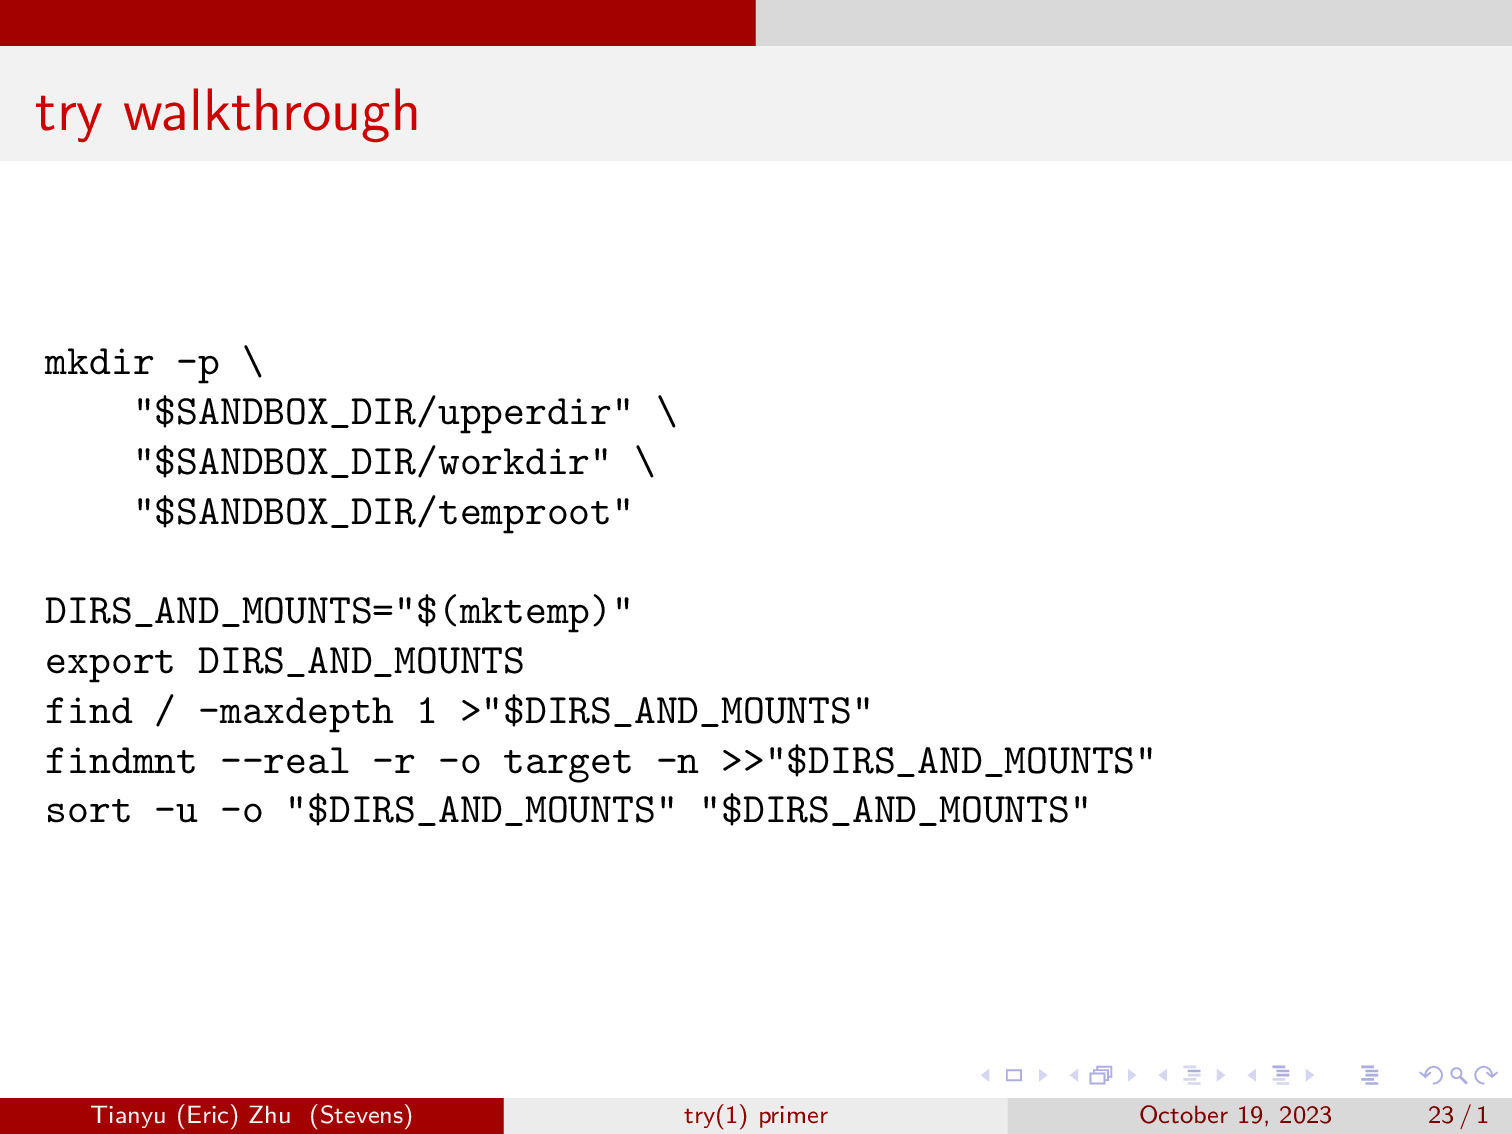
Here, try will create three directories, an upperdir, a workdir, and a temproot. Then for each mountpoint, we will create the directories within the three that we just made. We then get all the top level directories, and all the mountpoints in the system, and perform deduplication.
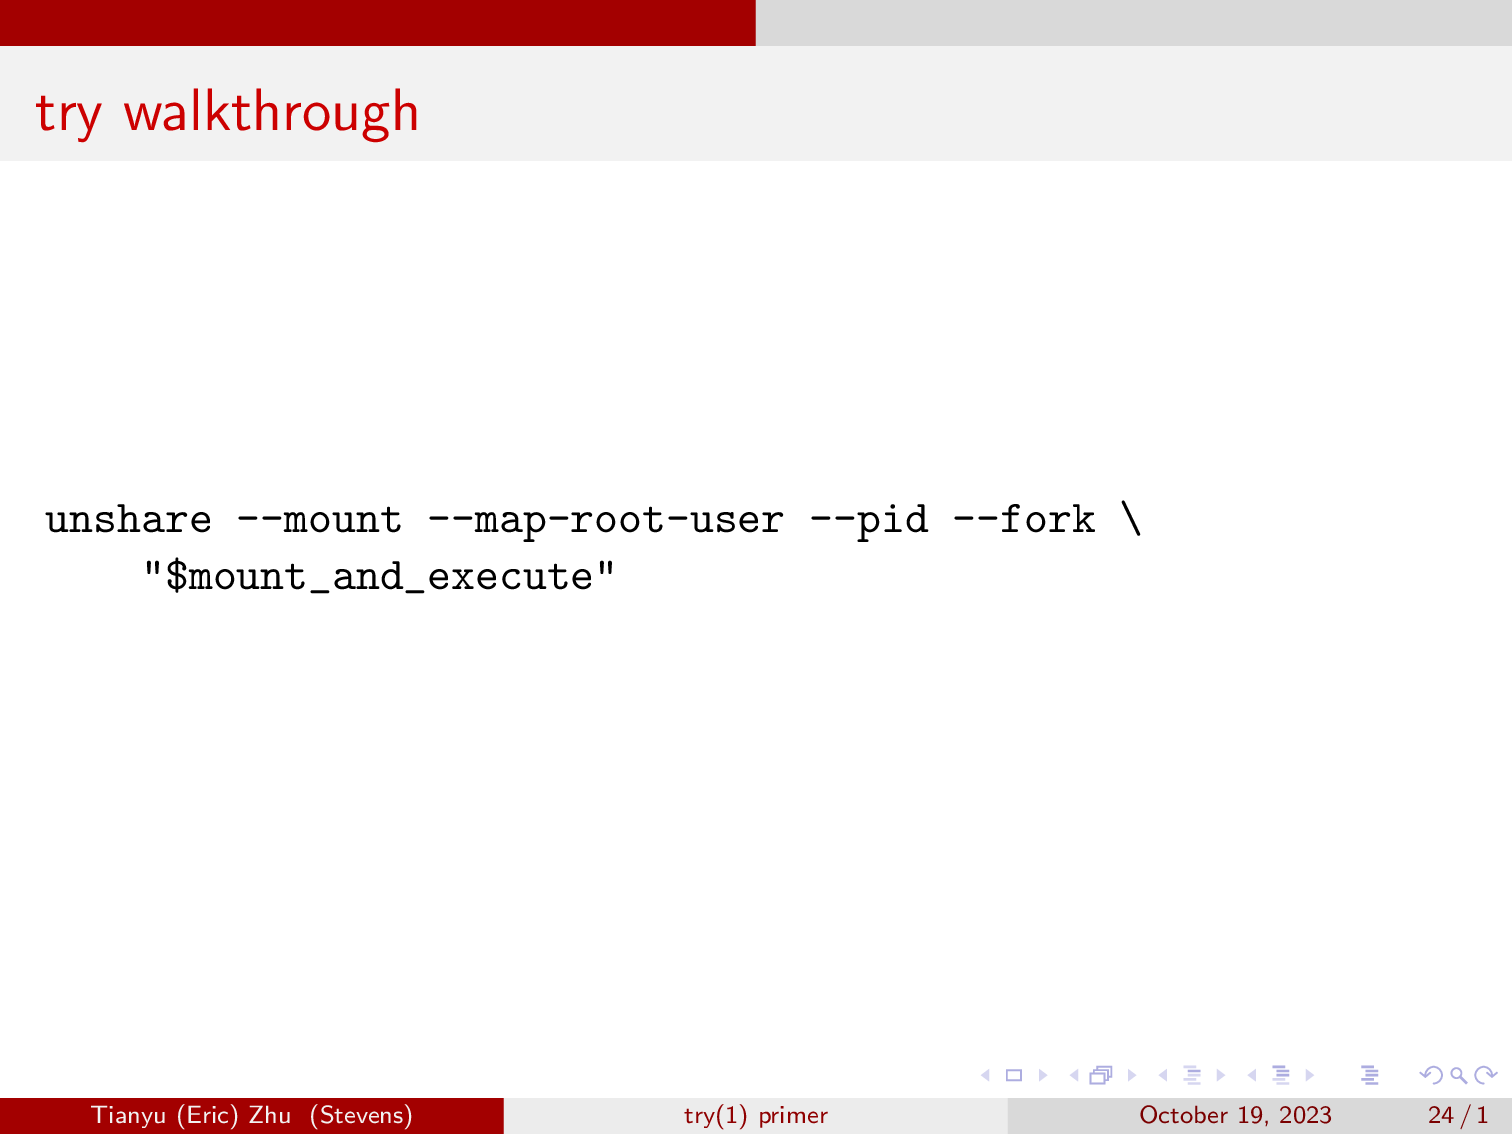
Here, we have the flag mount so we can mount and unmount overlayfs without affecting the rest of the system. We also have map-root-user so that we are allowed to mount. We also create a new PID namespace, and fork is necessary if we do PID.
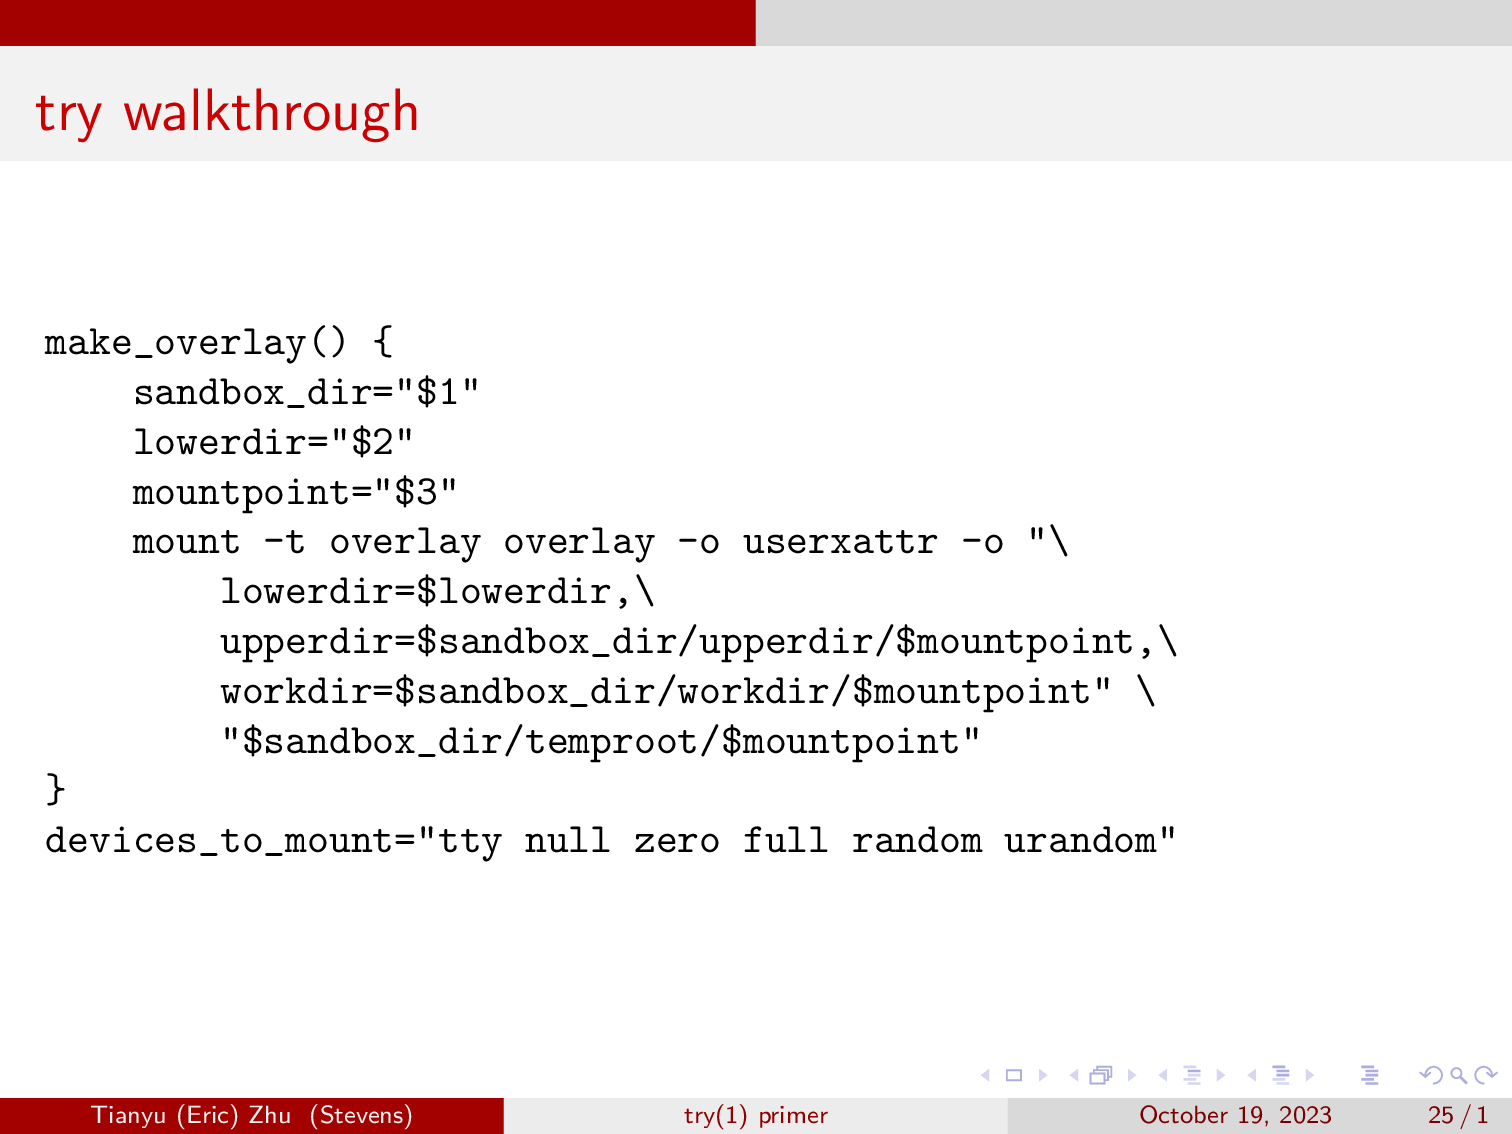
Here, we will define the function and make an overlay, we’re also enabling extended user attributes so we see less errors in dmesg. We also mapped out the devices that we want to mount, we don’t want to mount all our devices in case some script starts writing zeros to your drives.
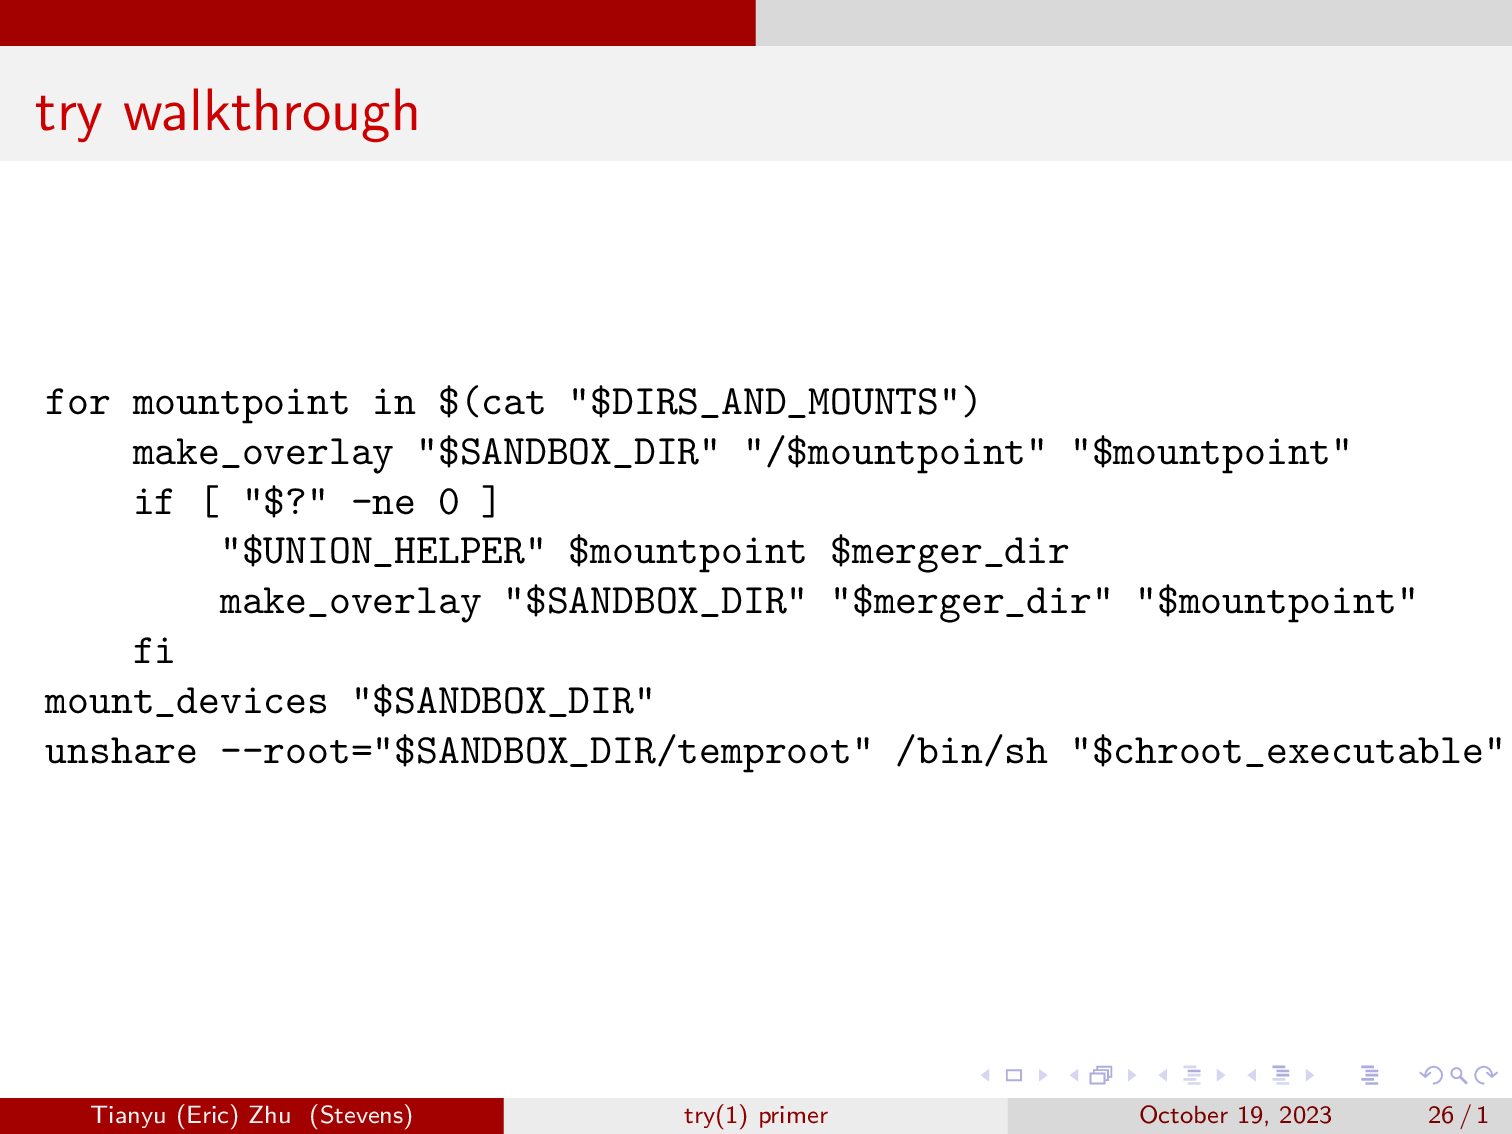
Now, we will create the overlayfs mount for each of the top level directories, as well as the mountpoints that were already in the system. Sometimes, which is often in the case of nested mounts, we will need to use a UNION_HELPER such as mergerfs and unionfs to flatten nested mounts out.
Lastly, after we have mounted everything in it’s overlayfs, we will pop into our second unshare, this case we will be entering our entirely overlayfs backed system.
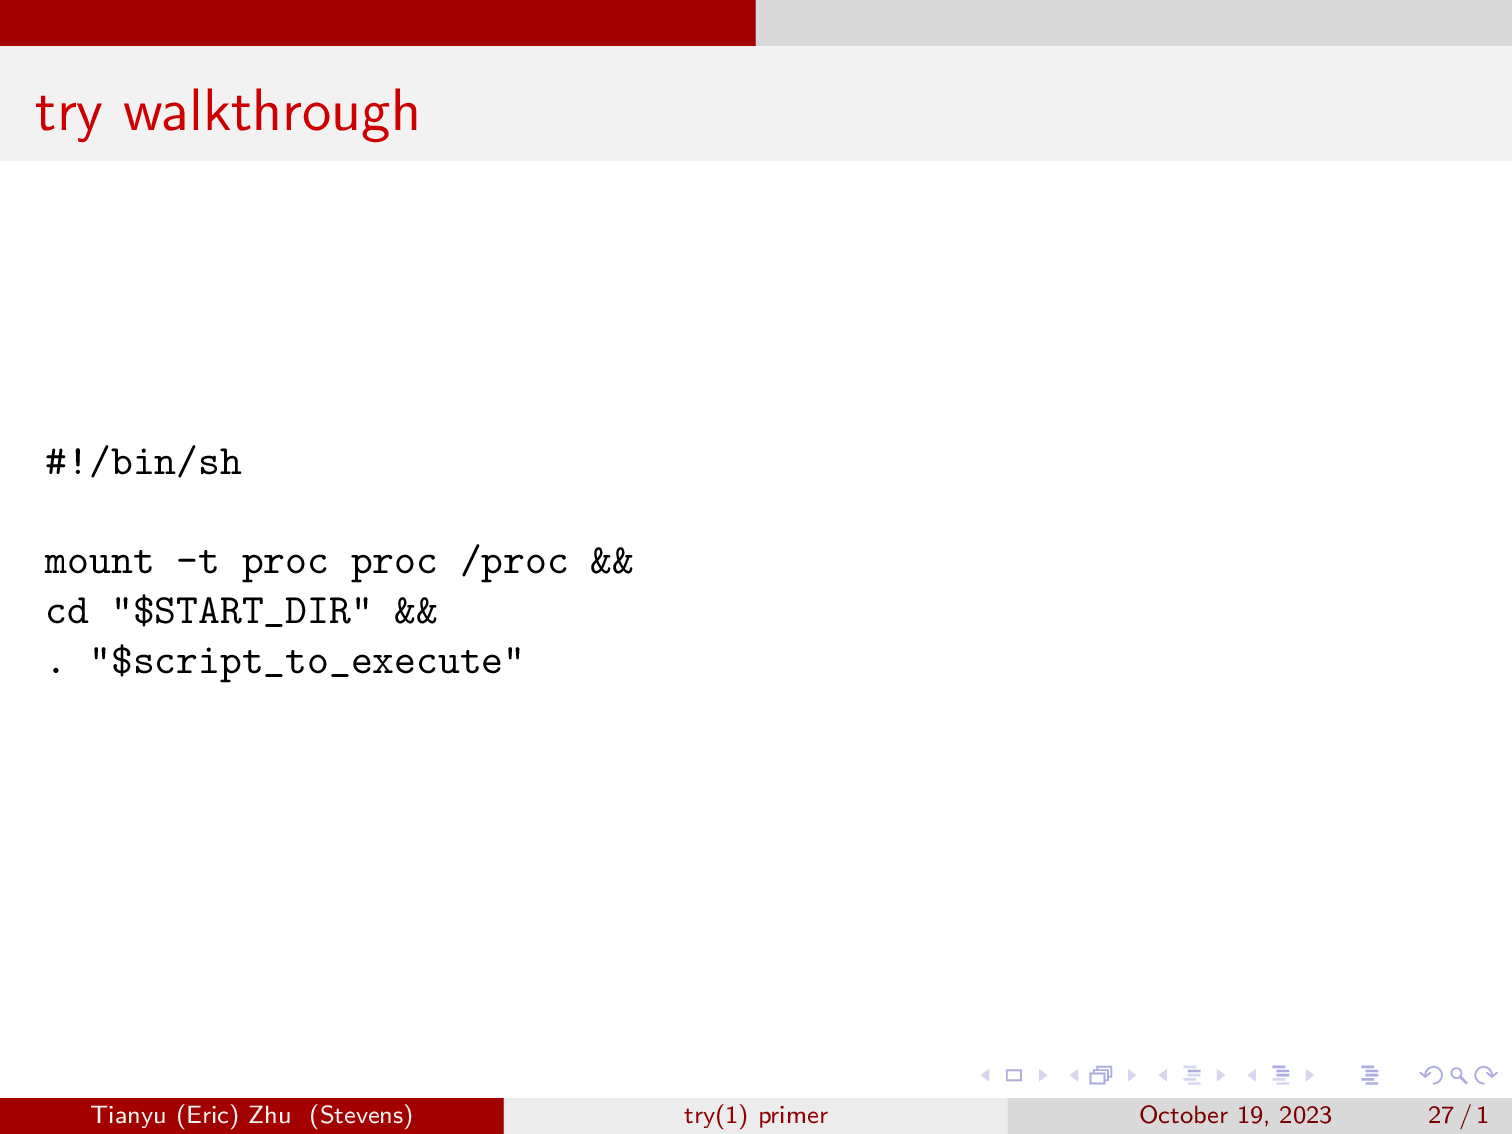
And here, we will mount the prof filesystem, and run the script or command that we called try with.

gif courtesy of Georgios.
Future plans
- We plan on allowing the user to specify the namespace that they want to be isolated (such as networking)
- Finalize support for UID/GID mapping (currently being worked on the [future branch])
- Speed up summary process
- And more, and we’re tracking them on our issues page.


